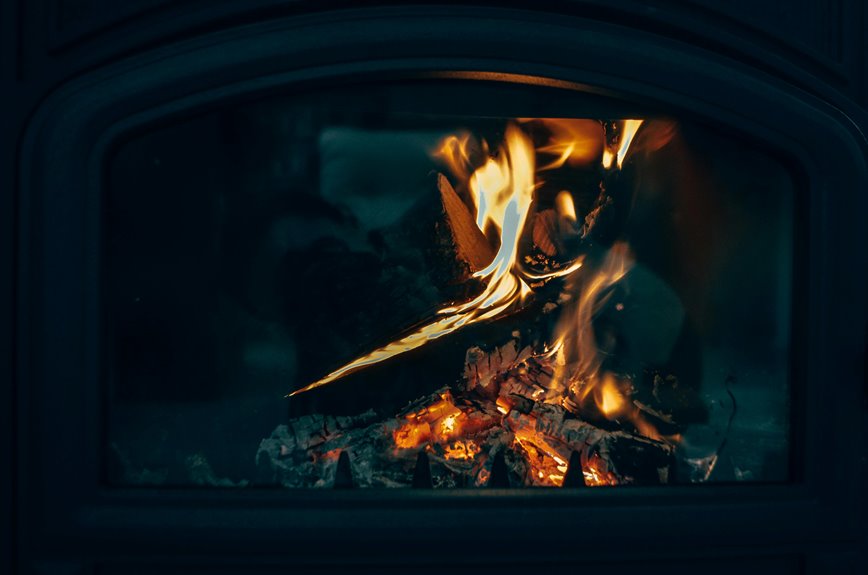
Stop feeding your fire as evening approaches, then let flames gradually die down. Clear furniture and curtains at least three feet away, gather your poker and metal shovel, then spread embers across the hearth for faster cooling. Once completely cool, scoop ashes into a lidded metal container and move it ten feet from your home. Position your fireplace screen until everything’s stone-cold. Check for hot spots, store ashes safely outside, and schedule yearly chimney cleanings. Stick around—there’s much more detail ahead!
Stop Adding Fuel and Let Flames Die Down
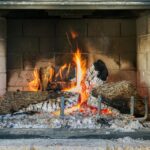
The best way to safely end your fireplace fire? Stop adding fuel and let it die down naturally. Here’s the thing—forcing an abrupt extinguish creates dangerous flying embers and smoke. Instead, as evening approaches, simply stop feeding the flames. Space out remaining logs wider apart so they burn slower. Skip the kindling entirely. This patience-based strategy lets your fire enter its natural cooldown phase, which is honestly the safest method. You’ll watch the flames gradually diminish until glowing embers remain. Before bed, ensure all ashes settle completely in the firebox. This thoughtful approach protects your home while creating a peaceful ending ritual. Your fireplace—and your safety—will thank you!
Clear the Area: Move Furniture and Curtains Away
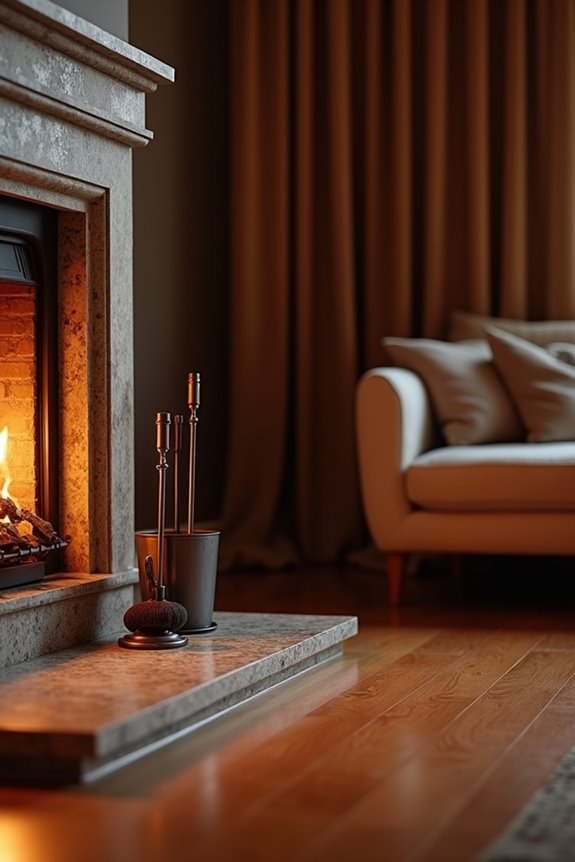
While you’re letting those flames wind down naturally, here’s something equally important: you’ve got to clear the space around your fireplace before anything goes wrong. Move furniture and curtains at least three feet away—that’s about the length of a baseball bat. Why? Heat and stray embers travel farther than you’d think! Remove rugs and fabrics from the hearth area too; they trap heat like a blanket and catch fire easily. Secure decorations and anything flammable, keeping them completely out of reach. This fireplace safety step reduces ignition risk significantly during extinguishing preparation. Place a metal ash bucket with a lid nearby for cooled ashes. Keep a fire extinguisher accessible in the room. You’re creating a safe zone—smart thinking that protects your home and everyone in it!
Gather a Poker, Shovel, Gloves, and Metal Container
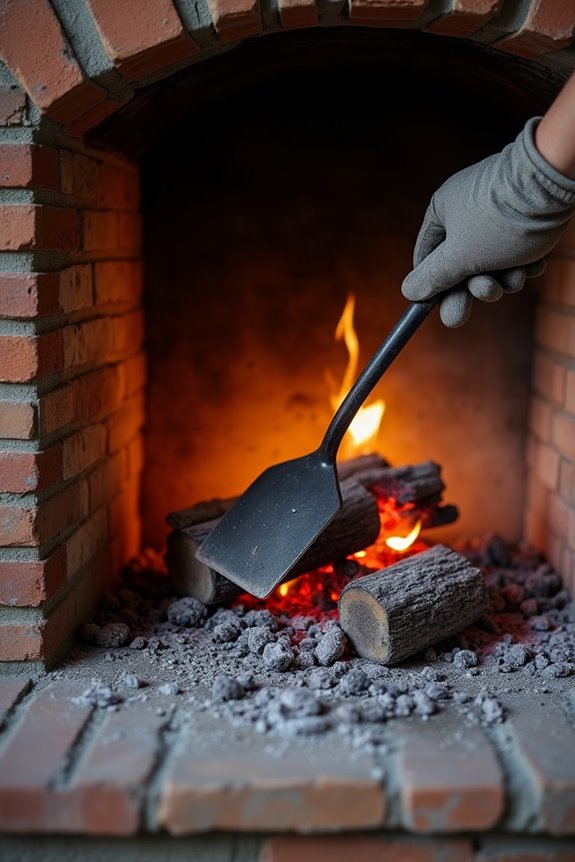
How’d you like to handle hot embers safely without getting burned? You’ll need the right gear before extinguishing that fireplace fire. Grab a sturdy fireplace poker—it’s your best friend for spreading out those glowing wood pieces. A metal shovel helps you scoop cooled ashes efficiently. Most importantly, slip on heat-resistant gloves; they’re non-negotiable when dealing with hot materials. Finally, snag a metal container with a tight-fitting lid for safe ash storage.
This simple toolkit puts you in control. The poker spreads embers across a flat surface, accelerating cooling and reducing re-ignition risks. Your shovel transfers ashes into that metal container. Quality gloves protect your hands throughout the entire process. Store your ash-filled metal container away from combustibles in a dry, well-ventilated spot. You’ve got this!
Spread Embers Across the Hearth With a Fireplace Poker
Once you’ve got your poker in hand, it’s time to get strategic about spreading those glowing embers across your hearth. You’re not just poking randomly—you’re creating a flat, level surface that cools faster and more evenly. Why does this matter? Spreading embers reduces heat concentration dramatically, lowering re-ignition chances significantly.
Work methodically, breaking up dense clusters and distributing them across the hearth. This exposes more surface area to cooling air, which is your secret weapon here. You’ll notice the temperature drops faster when embers aren’t piled together.
Once you’ve spread everything, here comes the next phase: scoop cooled ashes and dump them over the remaining fire repeatedly. This accelerates extinguishment and keeps you safe. Remember—safety comes first. Only handle ashes once they’re genuinely cool to touch. You’ve got this!
Scoop Cooled Ashes Into a Metal Container
The real work starts now—you’re almost there! Once your fire’s fully extinguished and cooled completely, grab your fireplace shovel and scoop those cooled ashes into a metal container with a lid. This step’s essential because ash retains heat longer than you’d think, and you don’t want accidental re-ignition or burns.
Here’s the thing: store that metal container at least 10 feet away from your house and any combustible materials. Think of that safety distance as your fireplace’s protective bubble. Keep the container outside or in a non-combustible area until those inert ashes are completely safe.
Pro tip? Leave about an inch of ash inside your fireplace—it’ll actually protect your masonry during future fires. You’re building smart habits that’ll serve you well!
Sprinkle Baking Soda Over Remaining Warm Spots
You’re almost there, and this next step’s a game-changer: sprinkle baking soda (yes, the same stuff from your kitchen!) over those remaining warm spots to smother lingering embers by cutting off oxygen. Use a light, even dusting—think seasoning a meal, not dumping the whole box—then spread it around with a poker or shovel to cover every hot area without creating a wet, cracking mess on your fireplace. Once you’ve distributed it thoroughly, you’ll notice the heat dissipating faster, which means you’re successfully preventing any sneaky rekindling!
Baking Soda Application Method
A surprising kitchen staple can become your fireplace’s best friend when you’re dealing with lingering embers! You’ll love how baking soda works—it chemically smothers flames without creating dangerous steam like water does.
Here’s your game plan:
| Step | Action | Coverage | Timing |
|---|---|---|---|
| 1 | Sprinkle generously | Light blanket layer | Immediately |
| 2 | Focus on hot spots | All glowing areas | Complete coverage |
| 3 | Allow settling | Undisturbed | Several minutes |
| 4 | Monitor cooling | Gradually cooling embers | Until safe |
Apply enough baking soda to form a protective blanket over glowing patches. The soda absorbs heat and deprives embers of oxygen—that’s fireplace safety at its finest! Wait several minutes while ashes cool completely before touching anything with tools. Keep your fireplace screen closed until everything’s completely cool. You’ve got this!
Identifying Warm Spot Areas
After you’ve spread baking soda across the fireplace, it’s time to hunt down those sneaky warm spots—the areas where embers still glow like tiny coals waiting to cause trouble. Look carefully at the ash bed. See those orange or red patches? That’s where you’ll focus your efforts! These glowing embers can reignite if you skip them, so don’t rush this step.
Use a light, even dusting of baking soda directly on each warm spot. You’re not burying them; you’re coating them. The baking soda displaces oxygen and cools the surface simultaneously—pretty clever, right?
After applying, wait a few minutes for visible cooling. Then, wearing your heat-resistant gloves, carefully test the temperature near treated areas. Once everything feels genuinely cool, you’re ready to confidently close that damper and call it done!
Safety Precautions During Sprinkling
What’s the trick to sprinkling baking soda without accidentally making things worse? You’ve got this—just follow these safety precautions:
- Use a light, even dusting motion rather than pouring the baking soda in clumps
- Keep your distance from the fireplace opening to avoid heat exposure
- Wear heat-resistant gloves and maintain a clear escape route
Sprinkle gradually as flames fade, ensuring all visible embers receive coverage. The baking soda depletes oxygen and cools the surface—your secret weapon! Don’t pour heavily or you’ll create thick mounds that trap heat instead of extinguishing it.
Stay patient. After application, let everything cool completely before proceeding. Keep that firescreen in place and skip water entirely. You’re doing the responsible thing by choosing this non-water method. Your fireplace safety matters!
Position a Fireplace Screen Until Completely Cool
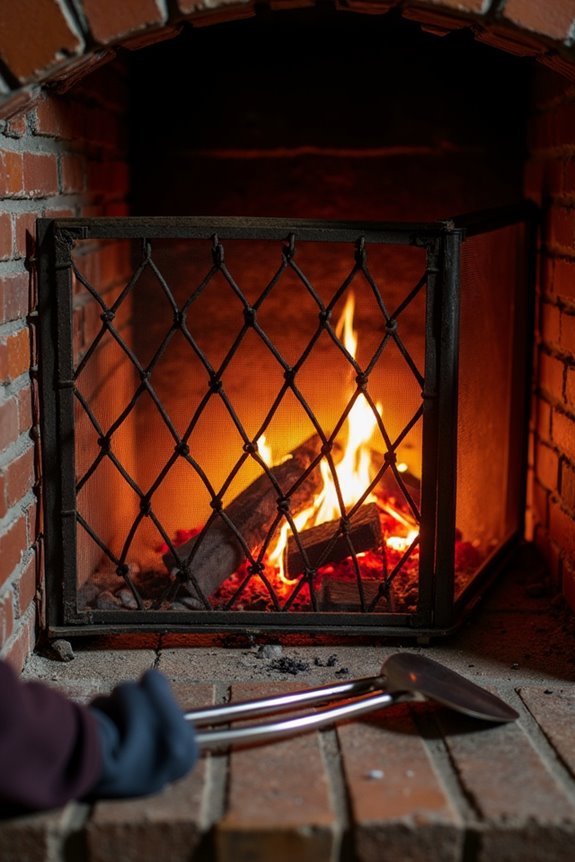
Once you’ve started extinguishing your fireplace fire, don’t forget about that trusty screen—it’s your best friend for keeping things safe! Position your fireplace screen directly in front of the opening as flames diminish. This simple barrier does serious work, protecting your surrounding area from stray embers and sparks that might escape during the final stages of extinguishing.
Think of it as your safety guardian. Leave that screen in place until ashes have completely cool—we’re talking stone-cold, no warmth whatsoever. Why rush? Your fire management success depends on patience here.
Screens act as essential safety barriers, preventing embers from bouncing into your living space. Keep it positioned firmly until you’re absolutely certain the fire is totally extinguished. You’re not just protecting furniture; you’re protecting your home and everyone in it. That’s genuine safety!
Check for Hot Spots Before Leaving the Room
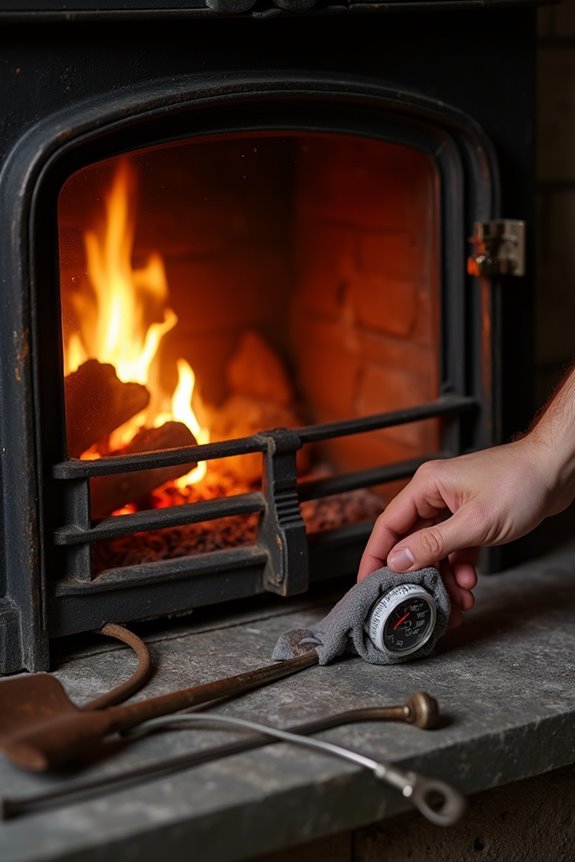
Before you think about heading back to your couch, you’ve got one more critical job—checking for those sneaky hot spots that love to hide in your fireplace! Here’s your action plan:
- Feel the ashes with the back of your hand at a safe distance to confirm cooling
- Use a metal shovel to test for residual heat lurking beneath the surface
- Look for glowing embers, sparks, or hissing sounds indicating incomplete extinguishment
Wait several hours or overnight before fully leaving the room. No rushing this part! If warmth remains, spread those embers out again and add a thin layer of baking soda to smother the heat. You’re protecting your home and everyone in it. That’s something to feel genuinely proud about!
Store Cooled Ashes in a Metal Container Away From Home
You’ve done the hard work of extinguishing those flames—now comes the final safety step that’ll protect your home from a sneaky re-ignition.
Here’s what you need to do: Let those ashes cool completely. I mean really cool—test them with your bare hand before touching them. Once they’re safe, scoop the ash into a metal container with a tight-fitting lid. This seal prevents oxygen from reaching any hidden embers that might reignite.
Now for the crucial part—storage distance matters! Position that metal container at least 10 feet away from your home and any combustibles like wood piles or mulch. Keep it outside in fresh air, never indoors where smoke could accumulate.
Here’s my insider tip: Check your container during the first 24 hours for heat or glowing embers. You’re almost there!
Secure the Fireplace and Schedule Yearly Chimney Cleaning
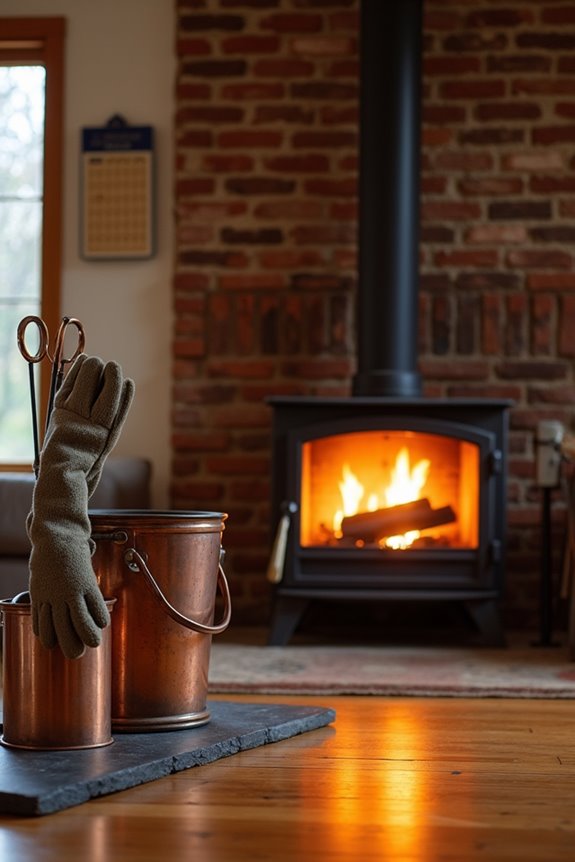
How’s your chimney doing these days? You’ll want to prioritize chimney safety seriously!
Here’s what you need to do:
- Schedule yearly chimney cleaning with a certified sweep to prevent creosote buildup, which is that flammable residue inside your flue
- Inspect regularly for cracks, loose joints, and damaged components using a high-powered flashlight
- Install a chimney cap professionally to block debris and animal intrusion
Between cleanings, you’re part of a community of responsible homeowners protecting your families. Monitor your carbon monoxide detectors regularly—they’re your early warning system! Think of these steps as your fireplace’s health checkup. You’ve got this! Taking action now prevents dangerous chimney fires later and gives you peace of mind during cozy nights.