You’ll light that pilot in no time! First, identify your ignition type—match, lighter, or electronic starter. Access the pilot assembly by removing the front panel, then locate your control knob marked PILOT, ON, and OFF. Rotate the knob counterclockwise to 9:00, push it inward until it clicks, then ignite using your chosen method. Hold the knob pressed for 30 seconds while the thermocouple heats up. Once steady, turn to ON and confirm the flame holds. Reassemble everything, and you’re done! Stick around to troubleshoot if anything goes sideways.
Verify Your Ignition Type: Match, Lighter, or Electronic Starter

How’s your fireplace set up to ignite? That’s your starting point! You’ll find three main ignition types, and identifying yours matters big time.
First, check if you’ve got an electronic starter—a built-in button or switch that does the work for you. Pretty convenient! No match required.
Second, some fireplaces need a manual approach. You’ll grab a match or lighter and ignite the pilot yourself. Classic method, totally doable.
Third option? Hybrid systems exist too. They combine features from both approaches.
Here’s what you’ll do: Look under your firebox. See any electrical components or buttons? That’s electronic ignition. See only a knob and pilot opening? Manual ignition’s your answer.
Grab your manufacturer’s instructions—seriously, they’re your best friend here. Confirm your exact ignition method before lighting that pilot. You’ve got this!
Access the Pilot Light and Locate Key Components
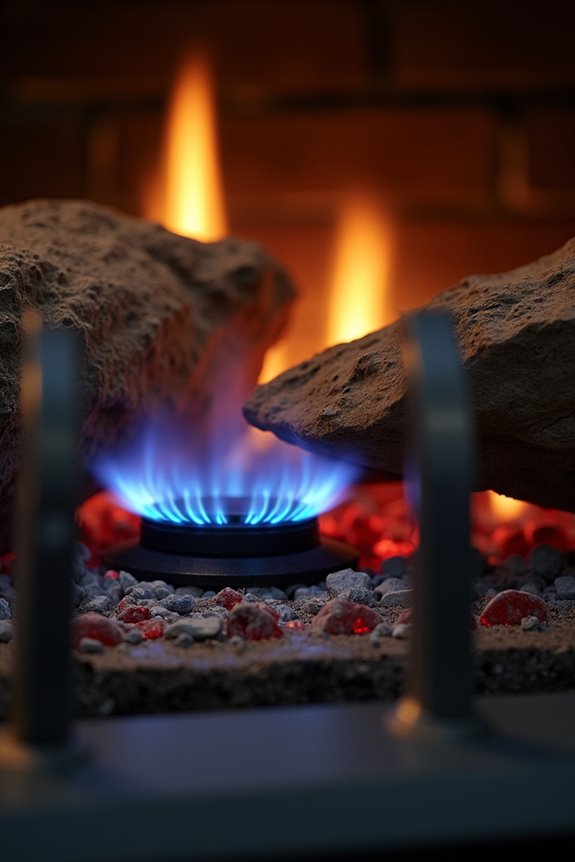
Where do you actually find the pilot light hiding in your fireplace? You’ll need to remove the decorative front panel or glass cover—don’t worry, you’ve got this! Underneath the firebox, you’ll discover the burner and pilot assembly waiting for you.
| Component | Location | Purpose |
|---|---|---|
| On/Off Knob | Control panel | Manages gas flow |
| Thermocouple | Near pilot flame | Safety sensor |
| Igniter | Burner area | Creates spark |
Now hunt for three critical items: the on/off knob, the igniter, and your pilot light itself. Look for the pilot control knob with markings labeled PILOT, ON, and OFF. That hash mark? That’s your alignment guide! You’ll spot two protrusions—the thermocouple and pilot position indicator—confirming everything’s positioned correctly. Before lighting, verify your gas valve’s accessible and your ignition pathway’s completely clear. You’re almost there!
Set the Pilot Light Control to Pilot Position
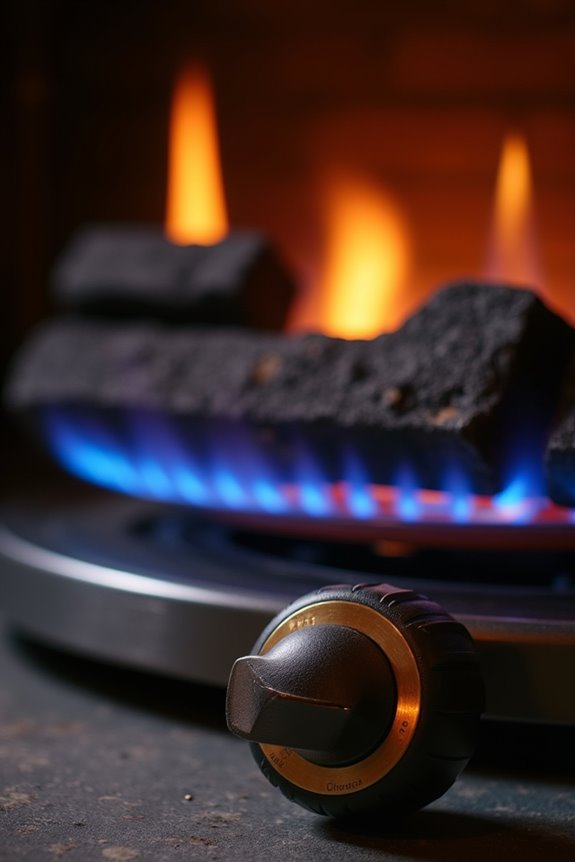
You’ll want to locate the pilot mark on your control knob—it’s typically labeled and positioned in the 9:00 to 12:00 range. Rotate the knob counterclockwise to 9:00, then turn it clockwise toward 12:00 until you hit that pilot setting, and press the knob inward so it clicks or locks into place, confirming you’re in the correct position. This locked-in feeling tells you you’re ready to ignite the pilot, whether your fireplace uses a match, lighter, or built-in electronic starter!
Locating The Pilot Mark
The real magic happens when you find that pilot control knob—it’s your gateway to getting that pilot light going! Look for the pilot position mark, typically labeled “PILOT” or shown as a hash mark between OFF and ON. You’re basically looking for your fireplace’s sweet spot!
| Feature | Location |
|---|---|
| Pilot Mark | Between OFF and ON |
| Knob Position | Counterclockwise start |
| Target Position | 12:00 (clockwise) |
| Push-in Distance | About half inch |
| Engagement Requirement | Must stay engaged |
Start by turning counterclockwise to 9:00, then rotate clockwise toward 12:00. Push the knob in about a half inch—you’ll feel it engage. That satisfying click means you’re doing it right! Can’t reach it or it won’t push? Stop there and grab your manual or call a professional. You’ve got this!
Rotating The Control Knob
Now that you’ve located that pilot mark, it’s time to actually position the knob where it needs to be! Turn your control knob counterclockwise all the way to the 9:00 position first. Then—and this is key—rotate it clockwise toward the 12:00 position. You’re aiming for somewhere between those two positions on your dial.
Here’s the trick nobody mentions: while you’re turning, gently push inward on the knob. When it clicks and you can push it in about half an inch, you’ve nailed it! That’s your pilot position. Some newer units have electronic starters instead, but they’ll still have a marked Pilot setting you need to find.
Getting this right matters because you can’t light anything until that control knob’s exactly where it belongs!
Confirming Correct Knob Position
Once you’ve got that knob positioned between 9:00 and 12:00, it’s time to verify you’ve actually hit the sweet spot—because feeling the click is one thing, but confirming it’s real is another! Now comes the crucial test: push that knob straight in toward the fireplace. You’re looking for about a half-inch of depression—think of it like pressing a button that actually responds. If it sinks in smoothly, congratulations! You’ve nailed the pilot position. But here’s the thing: if that knob resists or barely budges, you haven’t quite reached the correct setting yet. Simply readjust your rotation slightly and try again. This depressing action confirms you’re genuinely in the pilot position, not just close. Getting this right means you’re ready for the next step: actually igniting that pilot flame!
Ignite the Pilot and Hold for 30 Seconds
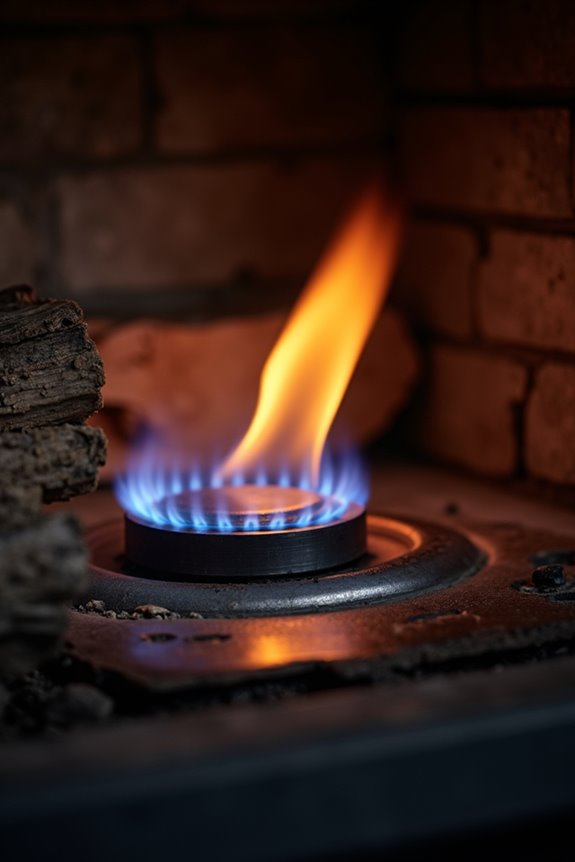
Now you’ll ignite the pilot using whatever method matches your unit—a match, lighter, or electronic starter—while keeping that control knob pressed in. Here’s the essential part: you’ve got to hold that knob down for a full 30 seconds after the pilot lights, which gives the thermocouple (that safety device that detects heat) time to warm up and signal the gas valve that everything’s working properly. If your pilot flame dies once you release the knob, don’t worry—just repeat the whole process again!
Ignition Method Selection
How you’ll light that pilot depends entirely on your fireplace model—and that’s actually good news because you’ve got options! Some units feature a built-in electronic starter, meaning you’ll simply press and hold your gas knob in the PILOT position while clicking a button. Others require a manual approach with a match or lighter—honestly, it’s not complicated! Check your fireplace’s manual to identify which method yours uses. The beauty? You don’t need fancy equipment or special skills. Once you’ve got your ignition source ready, you’re genuinely moments away from success. Just press that gas knob firmly, apply your chosen ignition method to the pilot opening, and watch for that satisfying small flame. You’ve totally got this!
Thermocouple Safety Heating
You’ve ignited that pilot flame—awesome! Now here’s the critical part: keep holding that control knob down for a full 30 seconds. This isn’t just busywork—you’re actually doing something important called thermocouple safety heating.
Here’s what’s happening: that heat from your pilot flame is warming up the thermocouple, a small metal sensor. As it heats up, it expands and signals your gas valve, “Hey, everything’s good! Keep that gas flowing.” It’s like giving your fireplace permission to work safely.
Release too early? Your pilot dies. Not fun. The thermocouple didn’t reach the right temperature yet, so it can’t hold the valve open. That 30-second wait ensures everything’s properly engaged and ready to go. Stay patient—you’ve got this!
Turn the Knob to On and Confirm the Flame Holds
Once that pilot’s glowing steadily—and I mean really holding strong—it’s time to make the big move! Rotate the gas flow knob clockwise to the ON position. This opens main gas flow and gets your fireplace ready for action.
Rotate the gas flow knob clockwise to the ON position—this opens main gas flow and gets your fireplace ready for action.
Here’s the critical part: watch that pilot flame closely. It should hold steady without flickering or dying. If it wavers, return the knob to OFF and try again. A stable pilot confirms everything’s working safely.
Once you’ve confirmed the flame holds, you’re golden! For regular gas-logs, the burner ignites immediately. Got remote control logs? The ON position enables remote activation instead.
Never skip this confirmation step. A secure pilot prevents dangerous main flame issues. When in doubt, call a professional—your safety matters most!
Put the Fireplace Back Together
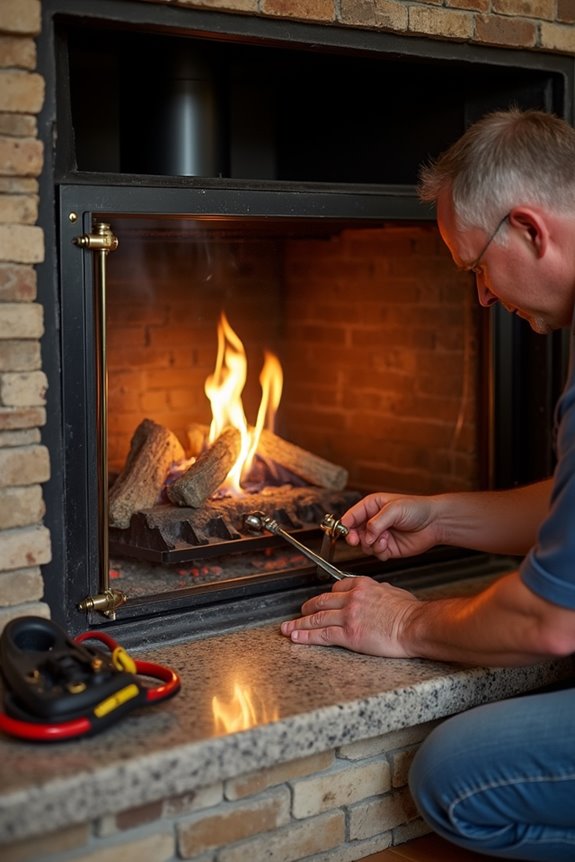
Ready to seal the deal? You’re almost there! Now that your pilot light’s holding steady, it’s time to reassemble everything. First, slide the glass panel back into place—it’s your fireplace’s protective shield. Next, reattach that decorative front casing securely. Don’t skip this step; it keeps everything safe and looking sharp!
| Step | Action |
|---|---|
| 1 | Replace glass panel carefully |
| 2 | Reattach decorative front casing |
| 3 | Verify all connections secure |
| 4 | Check for obstructions |
Before celebrating, confirm your on/off knob and igniter work properly. No firelogs or casing blocking anything? Perfect! Now comes the exciting part—flip that wall switch or grab your remote. Watch your main burner ignite beautifully. That satisfying whoosh means you’ve successfully mastered your fireplace! You’re officially part of the warm-home club now.
Diagnose Why Your Pilot Won’t Light or Stay Lit
What’s more frustrating than a stubborn pilot light that refuses to cooperate? Don’t worry—you’re not alone! If your pilot won’t light at all, check for a blocked gas line or kink restricting flow. A malfunctioning regulator could also be the culprit. Now, if it lights but won’t stay lit, here’s what’s likely happening: your thermocouple isn’t detecting the flame properly. This safety device needs about 30 seconds of heat after ignition to function correctly. Try holding the pilot button longer to purge air from your lines—duration depends on line length. Repeatedly struggling? Consider replacing the thermocouple or calling a professional. You’ve got this, and we’re here cheering you on!