

To legally build a tiny home in your backyard, you’ll first confirm your local zoning laws allow ADUs (accessory dwelling units)—call your planning department! Next, identify dealbreakers: setback distances, lot coverage limits, and height restrictions. Get construction cost estimates from contractors, then explore financing options like HELOCs or government programs. Submit required permits with site plans and utility approvals. Expect 2–4 months for permitting, multiple inspections during construction, and utility hookups from licensed professionals. Hire an experienced ADU builder, coordinate everything carefully, and you’re golden! Want the complete roadmap for each step?
Confirm Your Local ADU Laws and Zoning Restrictions
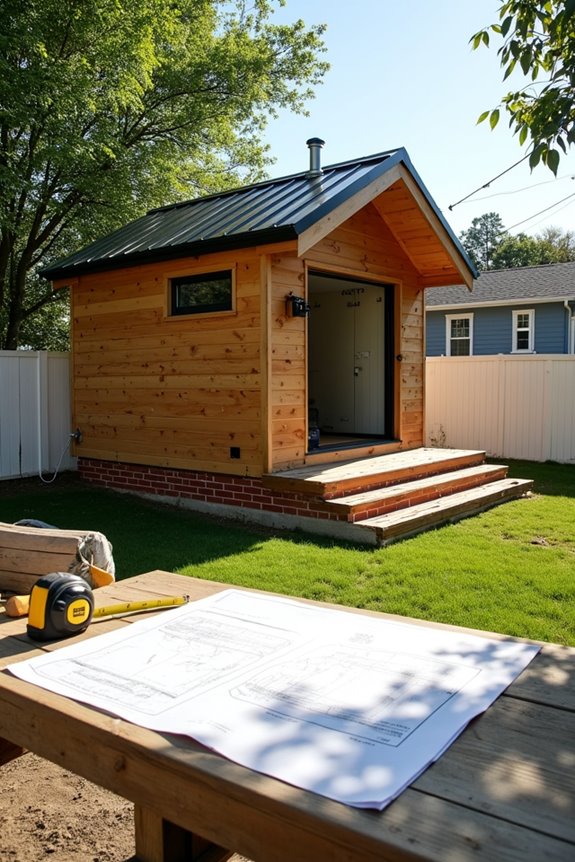
Before you pour a single foundation or hammer a single nail, you’ve gotta check what your local government actually allows—because trust me, I’ve seen folks get excited about their backyard tiny home dreams only to hit a zoning wall that stops everything cold.
Your first mission? Research your area’s ADU zoning regulations. Most places call them “Accessory Apartments” or “Supplemental Apartments,” and each has different rules. Call your local planning department and ask about permitting requirements—seriously, they’re your best friends here!
Check whether your backyard legal compliance allows structures up to 900 square feet or smaller. Some jurisdictions cap sizes differently. Don’t forget local regulations might restrict placement or require public hearings too. And here’s the kicker: HOAs or deed restrictions can override everything, so review your property documents carefully before you get your heart set on that perfect spot!
Define Your Intended Use and Structure Type
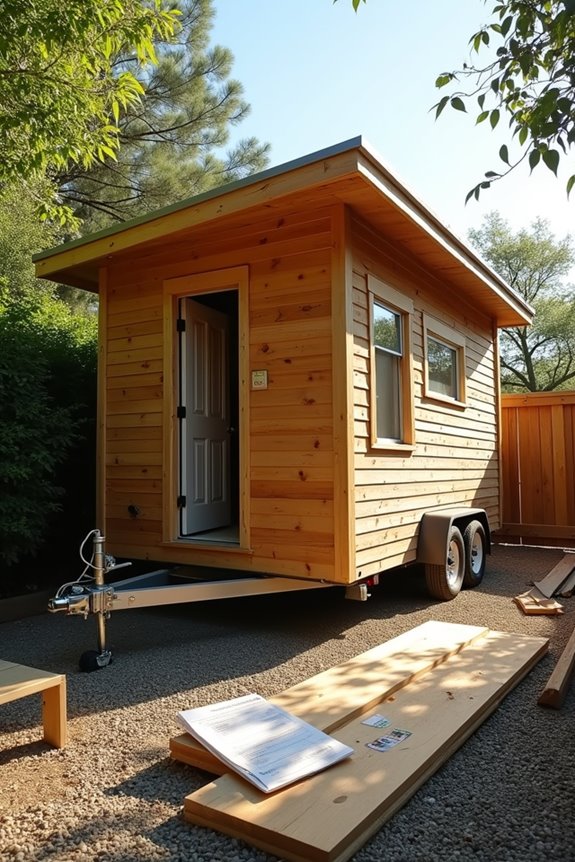
Now comes the fun part—deciding what you’re actually building and what it’ll be used for, because that choice determines pretty much everything else about your project!
You’ve got options. An ADU (accessory dwelling unit) for rental income? A guest house for visiting family? A home office studio? Each path requires different permits and zoning approvals. Here’s why it matters: your intended use affects setback requirements, height limits, and utility connections.
Next, pick your structure type. A detached ADU on a permanent foundation typically ranges 150–900+ square feet and follows standard building codes. Or consider a tiny home on wheels—though wheels complicate things since jurisdictions often treat them as RVs, requiring special permitting.
Be honest about your goals now. Your choice cascades into everything: building permits, neighborhood reviews, and long-term feasibility. Get this decision right upfront!
Identify Your Zoning’s Key Dealbreakers
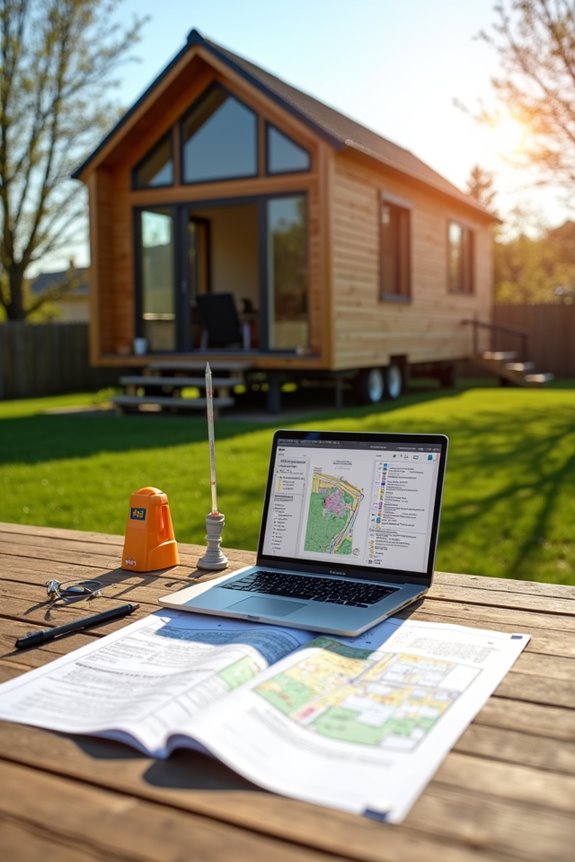
Where’d you think your tiny home could actually go on your property? That’s where zoning reality hits hard!
Your city’s zoning laws determine everything. You’ll need to verify setbacks (that’s the distance from your property line), lot coverage limits, and height restrictions. These rules often make or break your backyard dreams.
| Factor | Your Reality | What It Means |
|---|---|---|
| ADU Naming | “Accessory Apartment” or “Accessory Dwelling Unit” | Check your local bylaw |
| Foundation Requirements | Permanent foundation or THOW allowed? | Affects your building costs |
| Utility Connections | Sewer, water, electricity access | Determines feasibility |
Does your municipality allow ADUs at all? Some don’t. Research whether a THOW (tiny house on wheels) is permitted in your area—it’s genuinely different than permanent structures. Check for HOA covenants too; they can override everything. Don’t skip this step!
Get a Ballpark Construction Cost From Local Contractors
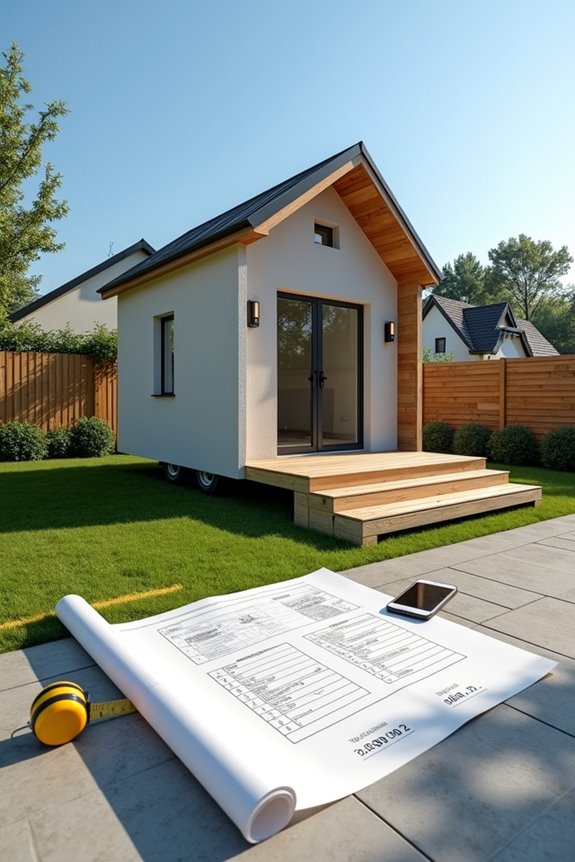
Once you’ve nailed down what your local zoning laws actually allow, it’s time to talk money—and honestly, this is where a lot of folks get sticker shock!
Here’s the thing: contractors won’t give you solid ballpark estimates without clear parameters. Before calling around, you’ll need specifics—your backyard ADU’s maximum size, foundation type, and utility connections your local zoning permits. These details matter tremendously!
Costs swing wildly depending on location and construction method. A modular unit might run cheaper than site-built, but permitting costs and local zoning requirements add unpredictability.
Ask contractors to itemize major expenses: footings, foundation work, utility hookups, insulation, and interior finishes. Request they note any town-mandated energy-efficiency standards.
This groundwork transforms vague numbers into realistic expectations tailored specifically to your jurisdiction!
Finance Your Backyard Tiny Home: Loans and Alternatives
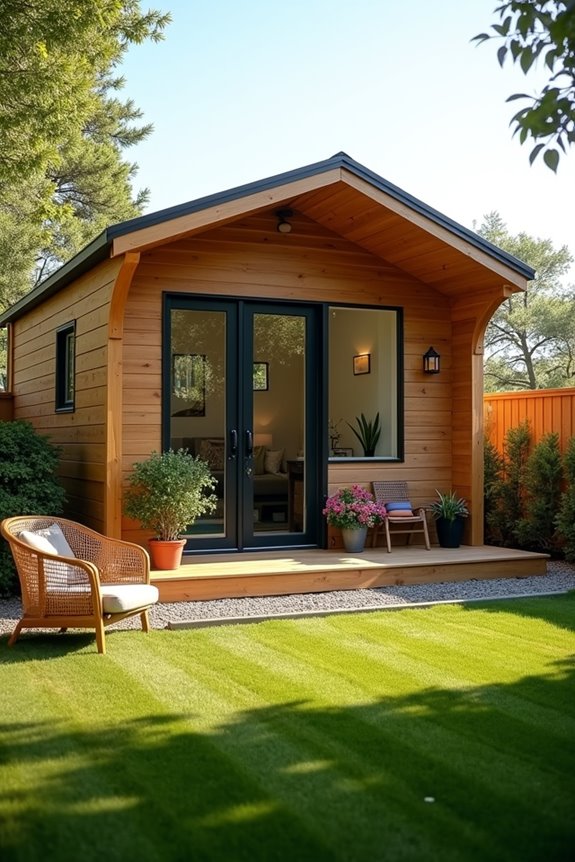
You’ve got several smart ways to fund your backyard ADU, and picking the right one depends on what you’ve got available and what feels comfortable for your wallet. You might tap into cash from a home sale, explore government programs like Massachusetts’ $50,000 0% interest loans for accessibility upgrades, or consider alternative routes like HELOCs and FHA renovation loans that spread the financial load. Let’s walk through each option so you can figure out which path makes the most sense for your tiny home dreams!
Cash and Sale Proceeds
What if you could skip the loan applications, credit checks, and years of interest payments altogether?
Using cash and sale proceeds from your existing home transforms your tiny home financing strategy entirely. You’re joining a growing community that builds smarter by eliminating debt stress!
Here’s your roadmap:
- Consolidate proceeds from your home sale into a dedicated construction account
- Align fund availability with permitting timelines and contractor payment schedules
- Reserve 15-20% contingency funds for unexpected costs during building phases
- Combine remaining cash with strategic retirement account strategies if needed
This approach simplifies everything. You’ll breeze through permitting conversations without lender requirements hanging over your head. Contractors appreciate immediate payment capabilities—it builds trust fast!
Timing matters though. Coordinate your closing date with construction start dates. You’re not just financing a project; you’re building freedom and belonging in your own backyard!
Government Programs and Grants
Beyond your own savings, there’s real money waiting for you—and I’m not talking about lottery tickets. Massachusetts offers a fantastic publicly funded program providing $50,000 at 0% interest specifically for home modifications supporting disabilities and aging in place, including accessible backyard homes. You’re essentially getting free money to build!
Here’s the catch: permitting timelines vary by town. Some require special permits or public hearings, which affects your financing readiness and project scheduling. Before pursuing grants, confirm your local requirements.
This program pairs beautifully with ADUs because it removes financial barriers. You’re joining a community of homeowners smartly leveraging available resources. Check your town’s eligibility requirements now—you might qualify for funding that makes your backyard home dreams financially feasible without draining savings.
Alternative Lending Solutions
If government grants don’t cover your entire backyard home project, several financing options exist—and they’re often more flexible than traditional mortgages! You’ve got solid alternatives that work around traditional regulatory compliance hurdles:
- Reverse Mortgages – Perfect if you’re a senior; tap your home’s equity without monthly payments
- FHA Home Style Renovation Loans – 30-year financing specifically designed for construction loans and ADU projects
- Cash-Out Refinancing or HELOCs – Access your existing home equity quickly for mini financing needs
- Self-Directed IRAs – Fund your backyard tiny home through custodial real estate investments
Here’s the thing: mini financing through these routes bypasses some traditional mortgage barriers. You’ll still navigate ADU permitting requirements, but lenders understand construction timelines better when you’re working with purpose-built tools. Talk honestly with your lender about your project timeline—it matters more than you’d think!
Submit Required Documentation to Planning Department
Now comes the moment where you’ll turn all your planning into official paperwork—and honestly, this step’s easier than you’d think if you’re organized!
Your planning department needs specific documents to approve your tiny home project. Gather everything early to avoid delays in the permit submission process.
| Document Type | Purpose | Who Provides |
|---|---|---|
| Site plans | Shows property layout | Architect or designer |
| Floor plans | Details interior spaces | Your designer |
| Elevation drawings | Shows external appearance | Licensed professional |
| Zoning compliance letter | Confirms ADU eligibility | Planning department |
You’ll also submit proof of utility connections, electrical certifications, and plumbing approvals from licensed professionals. Many jurisdictions require neighbor notification too.
Expect 2–4 months for review. Some areas demand public hearings. Stay ahead by submitting everything complete and correctly formatted. You’ve got this!
Know Your Permitting Timeline and Inspection Checkpoints
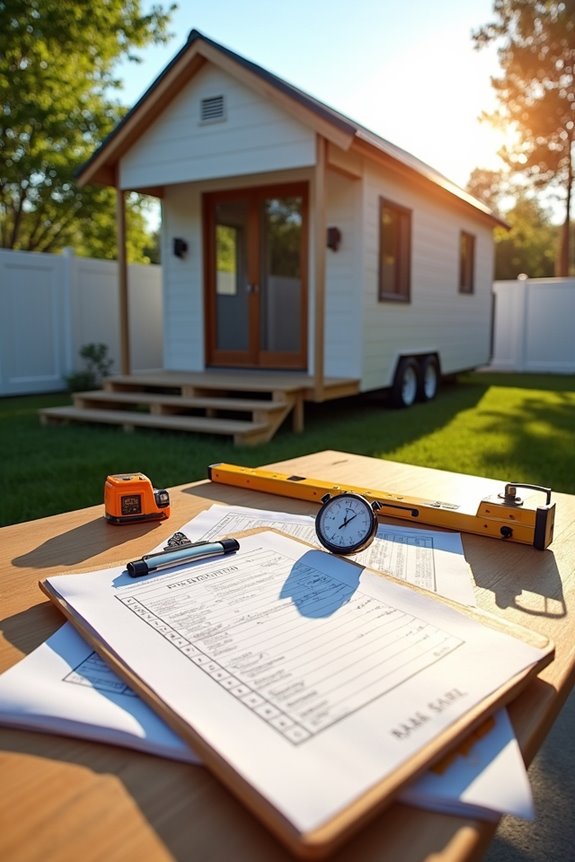
Once your paperwork’s submitted, you’ve entered a new phase—the waiting and inspection game! Here’s what you’re looking at:
- Initial review (2–4 weeks): Your jurisdiction examines permits for completeness and code compliance
- Possible public hearing (varies): Some towns require community input before approving your ADU
- Construction inspections (multiple checkpoints): Inspectors verify foundation, framing, electrical, plumbing, and final work
- Utility connection approvals (concurrent): Water, sewer, and electricity inspections happen alongside building inspections
Timelines vary wildly depending on where you live. Some communities move fast; others take months. Early engagement with your planning department prevents surprises. Ask specifically about their inspection schedule and required documentation upfront. You’ll feel confident knowing exactly what’s coming next!
Connect Utilities to Your Tiny Home
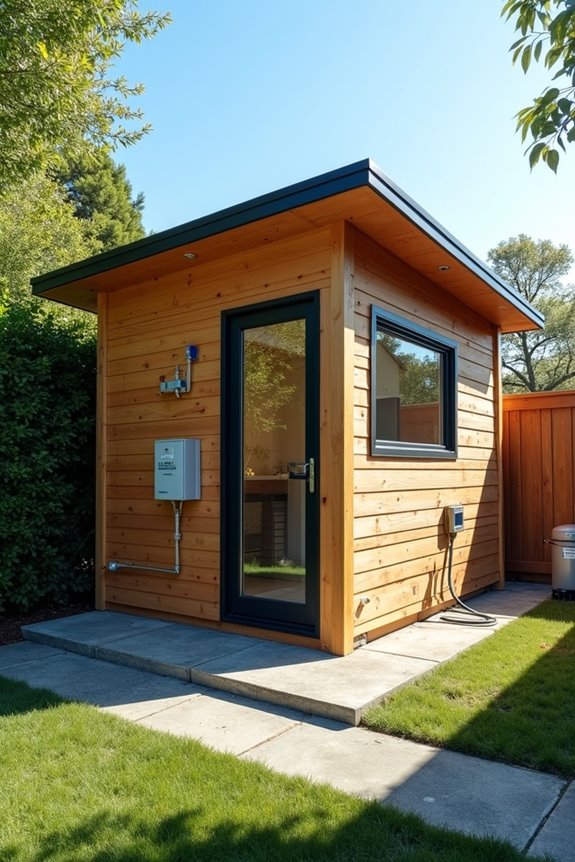
The utilities part—water, electricity, and sewage—honestly feels like the unsexy middle child of your tiny home project, but it’s absolutely essential! You’ll need utility connections that meet local code compliance standards. A licensed electrician must handle electrical service from your main panel, while water and sewer lines require proper routing and trenching.
| Utility | Key Requirement | Your Action |
|---|---|---|
| Water | Main supply connection | Hire plumber for hookup |
| Electric | Licensed electrician install | Schedule inspection early |
| Sewage | Official hookup or septic | Verify local regulations |
Distance from your main panel matters. Long runs need conduit. Permits and inspections ensure everything’s safe and legal. Consider setback rules—they’re non-negotiable! Off-grid options exist, but most jurisdictions require official hookups for full-time living. You’ve got this!
Hire Your Builder and Break Ground
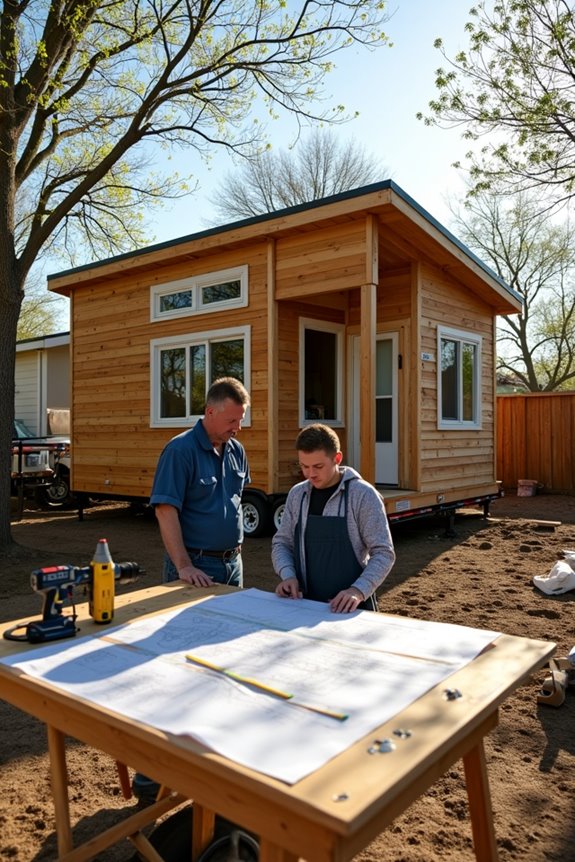
Now comes the exciting part—you’re ready to find the right builder and actually start construction! You’ll need to select a licensed general contractor who understands your town’s ADU rules, finalize every detail of your tiny home’s specs, and nail down a realistic timeline that accounts for permits and inspections. Getting multiple bids upfront, with each one clearly showing what’s included (permitting help, plan revisions, utility work), saves you headaches and surprises later.
Selecting The Right Contractor
How do you find a builder who won’t turn your backyard dream into a backyard nightmare? You’ve got this! Start by vetting your ADU contractor carefully.
- Get multiple bids from contractors experienced with ADU projects
- Verify they understand local permits and inspection requirements
- Request transparent pricing broken down by foundations, utilities, and finishes
- Check references from their past ADU projects
Ask each contractor for a detailed scope of work, schedule, and contingency plan. This prevents surprises later! Confirm they can coordinate utility connections and handle third-party certifications.
Call those references. Ask about timeline adherence, budget accuracy, and warranty support. Did change orders pop up unexpectedly?
You’re investing significantly—choose someone who shares your vision and delivers results. A trustworthy contractor becomes your partner in success!
Finalizing Project Specifications
Once you’ve narrowed down your contractor choices, it’s time to lock in the specifics—and this is where your earlier zoning research becomes gold! Your GC needs crystal-clear direction on foundation options, whether that’s a traditional concrete pad or a THOW foundation. Share your zoning constraints upfront: setbacks, lot coverage limits, and any ADU regulations your town enforces. Walk through permitting steps together so there aren’t surprises later. Discuss utility connections—water, sewer, electric—since these markedly impact costs. Pin down your timeline from design approval through occupancy. Document everything in writing. This shared understanding prevents expensive plan revisions and keeps your project moving smoothly. You’re building community support by playing by the rules!
Construction Timeline And Permits
With your specs locked down and your contractor selected, you’re ready to tackle the permits and timeline—the roadmap that’ll keep your backyard ADU on track. Here’s what you’ll navigate:
- Permitting phase: Expect 2–4 months for approval, depending on your jurisdiction. Some towns require public hearings; others streamline the process.
- Building codes compliance: Your contractor must ensure designs meet local codes. This prevents costly rework later.
- Construction duration: Modular ADUs finish faster—sometimes in 2 weeks. Traditional builds typically take 2 months.
- Project support: Engage a planning professional early. They’ll handle neighbor communications and staged approvals smoothly.
You’ve got this! Clear communication with your contractor about timeline expectations minimizes surprises. When you’re organized from the start, permits and construction flow naturally.