Build your backyard rink in five simple steps! First, choose a liner-style rink—they’re beginner-friendly and cost around $300. Next, find a level, shaded spot near your water source; slopes mess up ice consistency. Gather PVC pipe, corners, and a heavy-duty tarp, then measure carefully using the Pythagorean theorem for accuracy. Finally, flood gradually in stages and wait four days below freezing before skating. Each step builds on the last, so stick around to discover pro maintenance tricks that’ll keep your ice smooth all winter long!
Choose Your Rink Type and Size

Before you break out the shovel and hose, you’ll want to make a pivotal decision: what kind of ice rink are you actually building?
Before you break out the shovel and hose, you’ll want to make a pivotal decision: what kind of ice rink are you actually building?
You’ve got three solid options. The Old Fashion Backyard Rink Style keeps things simple and traditional. The liner method uses plastic tarps for containment—perfect if you’re worried about water spreading everywhere. Then there’s the refrigerated method, which requires equipment but delivers consistent ice.
Next, measure your backyard carefully. You’re hunting for the flattest spot possible because slopes wreck your rink size plans. Start smaller if you’re new to this—16×32 feet works great for learning. As you gain confidence, you’ll expand to 32×40 feet or larger.
Your rink type choice actually matters more than you’d think. It determines whether you need boards, what materials you’ll buy, and when you’ll flood. Pick the method matching your space and comfort level!
Pick the Perfect Spot for Your Backyard Rink
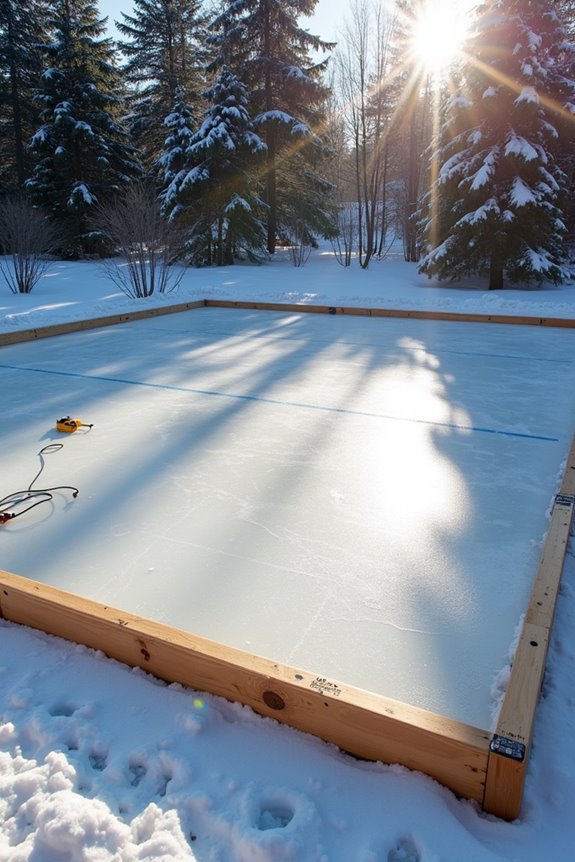
Where you plant your rink is honestly just as important as the rink itself—maybe even more so! You’ll want a level area with relatively dry soil that won’t create puddles or uneven ice. Scout your backyard for flat spots, avoiding slopes that’ll mess with water depth. Proximity to a water source matters tremendously—you’re filling this thing multiple times! If possible, position your backyard rink under shade trees. This extends your skating season and reduces sun damage to the ice. Make sure you’ve got enough space for the frame plus extra room around edges for liner overhangs and maintenance. Check local rules too; most private yard rinks need no permits unless heavily fenced with intense lighting. You’ve got this!
Gather Materials and Calculate Your Budget
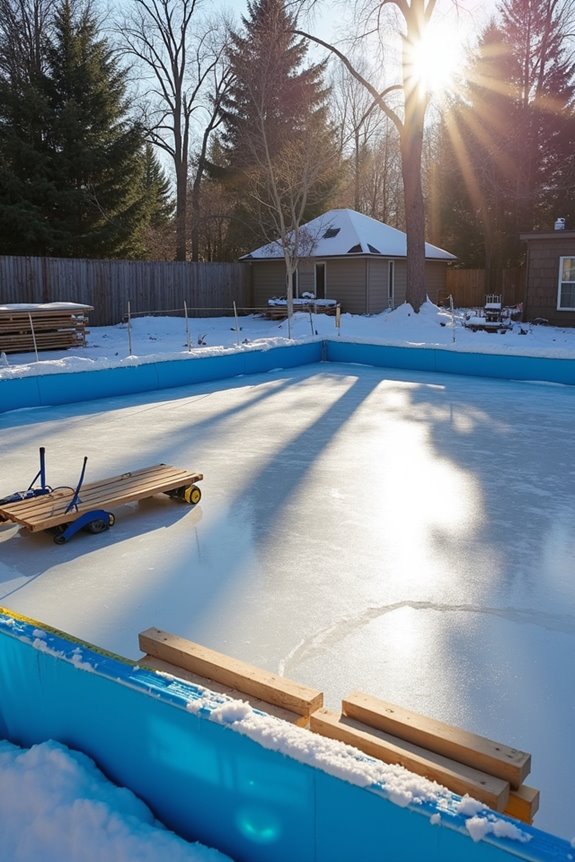
Now that you’ve found the perfect spot, it’s time to actually build the thing—and that means gathering supplies! You’ll need 36 feet of schedule 20 PVC sewer pipe (sold in 10-foot lengths for $5–$8 each), 4-inch PVC corners around $3, and a 6 mil polyethylene liner—basically a heavy-duty tarp—for roughly $100. Your total budget lands near $300, though you can adjust based on rink size.
Here’s the friendly part: you can reuse materials across multiple winters! Plan for 3–5 winters of enjoyment with careful maintenance. Some folks splurge on wood frames ($140) or expand their PVC setup to $360–$720 for larger rinks. Don’t forget water access costs either. Start modest, learn what works, then upgrade next season!
Prepare Your Site and Build the Rink Frame
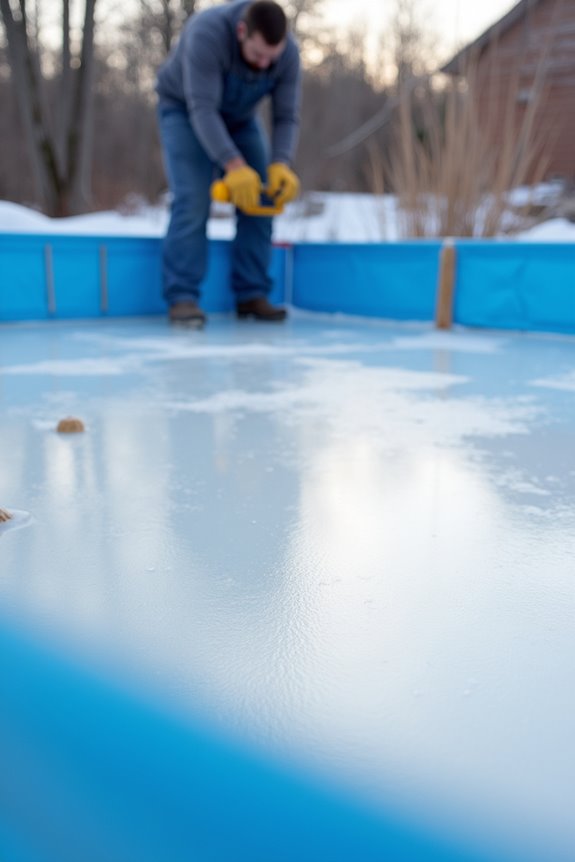
The real magic happens when you transform your chosen spot into an actual skating surface—and it all starts with getting the foundation right! You’ll want level ground—seriously, this matters more than you’d think. Find that flat, shaded area near your water source, then measure and stake all four corners of your backyard rink. Use the Pythagorean theorem (yes, math!) to verify your rectangle’s accuracy. For a 36 x 46-foot rink, diagonal measurements should match perfectly. Next, pack down 1–2 inches of snow for smoothness, then build your rink frame using sturdy boards and heavy-duty brackets. These brackets firmly join your perimeter boards together. Want to know the secret? Getting this foundation solid means everything freezes properly later. You’re building the stage for serious skating fun!
Fill, Freeze, and Maintain Your Ice All Season
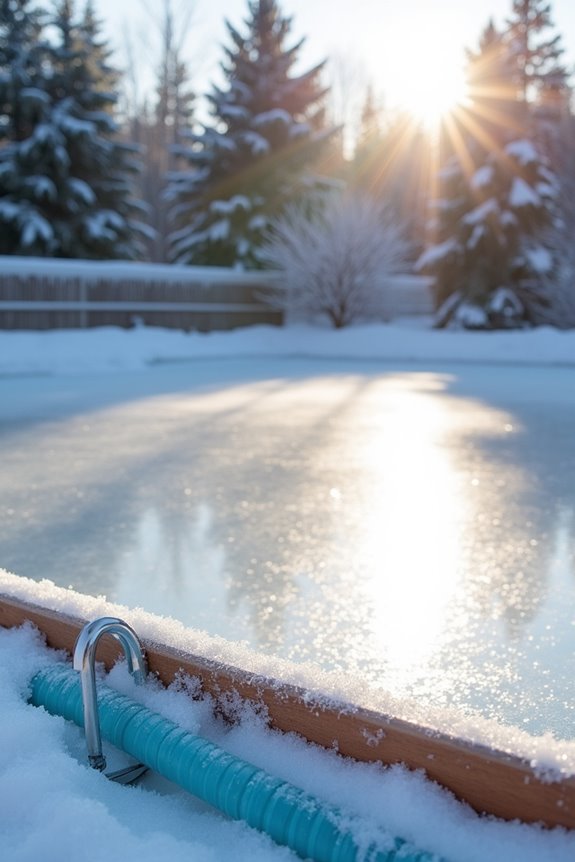
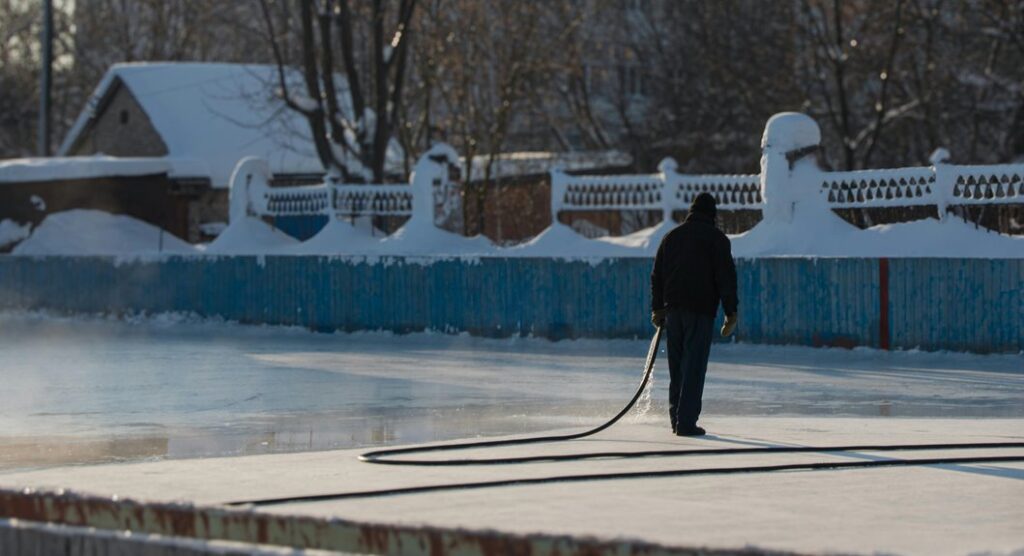
Ready to transform that framed rectangle into actual ice? You’re almost there! Start flooding gradually in 55-gallon stages to create a smooth, bubble-free surface. This layered approach works magic for preventing those frustrating bumps.
Now comes the hardest part: patience. Wait for at least four consecutive days below 32°F before checking your ice depth. Once frozen, drill a test hole to confirm you’ve reached four inches—the safe minimum. Then grab your skates and test it yourself!
Your maintenance routine keeps that backyard ice rink pristine all season. Shovel snow promptly after each storm. When bumps appear, re-flood those small sections strategically. Regular layered floods preserve evenness and prevent deterioration. You’re not just building ice; you’re creating winter memories for your entire neighborhood!