
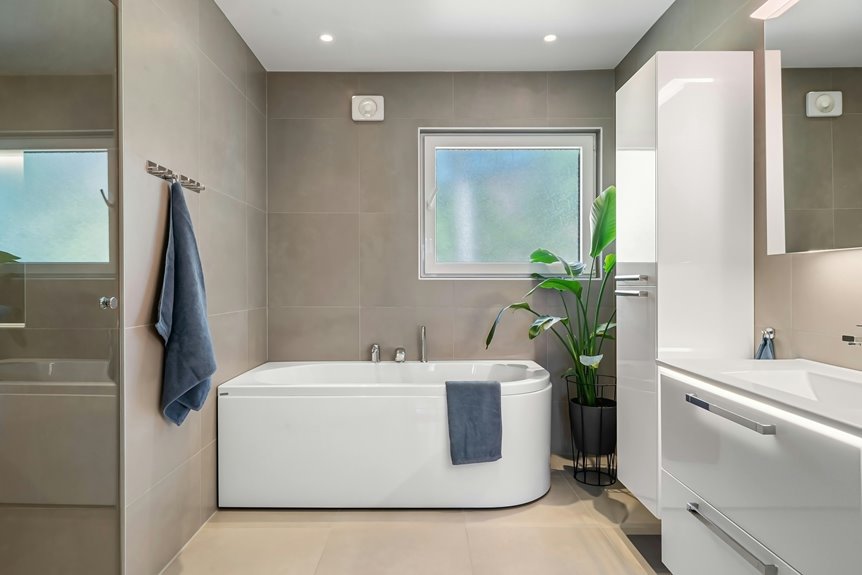
You’ve got seven solid fixes to banish that bathroom fog! Start by installing a proper exhaust fan (aim for 50–80 CFM for small spaces, 100+ for larger ones) and run it during and twenty minutes after showers. Add a portable fan like the Vornado for immediate relief, use windows for natural airflow, and consider a dehumidifier for stubborn moisture. Keep everything maintained—clean filters monthly—and call professionals if DIY efforts fall short. Stick around to discover exactly how each solution tackles your specific ventilation problem!
How to Tell If Your Bathroom Ventilation Is Failing

Do you notice your bathroom mirror fogging up within seconds of a hot shower? That’s your first clue that ventilation’s struggling!
Here’s what to watch for: mold and mildew creeping around corners or under the sink indicate trapped moisture isn’t escaping. Peeling paint or wallpaper signals excessive humidity damaging your walls. Lingering odors that won’t disappear? Stale air isn’t leaving efficiently.
Check for visible condensation on windows, mirrors, or walls—it’s a clear sign of poor air circulation. Over time, inadequate ventilation doesn’t just look bad; it risks structural rot spreading throughout your bathroom.
The good news? You’re already noticing these warning signs! Recognizing these problems means you’re ready to tackle solutions and protect your bathroom’s health. Let’s fix this together!
Fix a Poorly Ventilated Bathroom With an Exhaust Fan
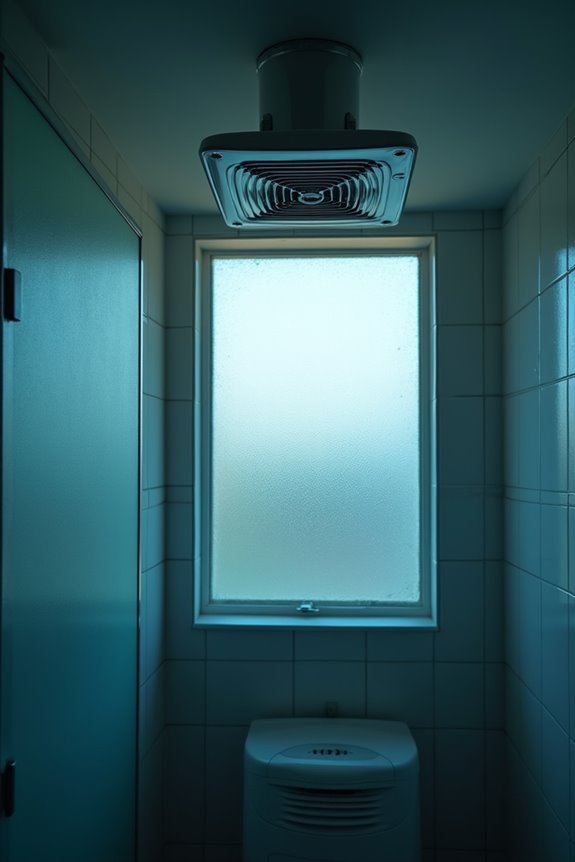
Installing an exhaust fan is honestly one of the best moves you can make for your bathroom’s moisture problem! You’ll need to focus on three key areas: picking a fan with enough CFM (that’s the cubic feet per minute it can move) for your space, making sure it vents straight outside—not into your attic where mold loves to hide—and actually using the thing by running it during and 20 minutes after showers. Getting these details right transforms your steamy bathroom into a dry, healthy space!
Choosing The Right Fan
When you’re shopping for an exhaust fan, here’s the thing—not all fans are created equal, and picking the wrong one won’t solve your moisture problem. You’ll want to match your fan’s CFM (cubic feet per minute) to your bathroom size. A small bathroom needs around 50-80 CFM, while larger spaces demand 100+ CFM. Think of CFM as your fan’s breathing power!
Here’s what matters most: ensure your fan vents directly to outside, never into your attic. That’s non-negotiable. Combo light/fan units? Skip them. They’re weak sauce for real ventilation.
Don’t cheap out on maintenance either. Clean your filter regularly and keep vent openings clear. This keeps your fan performing strong and reduces fire risk. You’ve got this! Choosing right means years of dry, fresh bathrooms ahead.
Proper Outside Venting Installation
Here’s the real difference between a bathroom that finally stays dry and one that’s still a sauna—your exhaust venting has to go straight outside, not into your attic where it’ll create a whole new moisture nightmare.
Proper duct routing is everything. You’ll want professional installation to guarantee your ducts exit through an outside vent correctly. They’ll ensure no kinks or sagging areas trap moisture inside the line. Models like the Vents 125 LD work great when installed right!
Here’s what makes the difference: straight paths, sealed connections, and dedicated outside termination. Don’t skimp on this step—it’s literally the difference between success and failure.
Regular vent cover cleaning keeps airflow optimal and prevents fire risks. You’ve got this! Professional installation transforms your bathroom experience completely.
Running Your Exhaust Fan
Want to know the single most important thing you can do right now to dry out your bathroom? Run that exhaust fan! Here’s the game-changer: you need to keep it running during and for 20 minutes after every shower. This removes lingering moisture before it settles into walls and creates mold.
Your fan’s CFM (cubic feet per minute) rating matters too. If yours feels weak, upgrade to a higher-CFM model matching your bathroom size. Don’t skip maintenance—clean or replace filters regularly to maintain airflow and prevent fire risks.
Here’s my friend advice: leave your bathroom door slightly ajar after showers. This improves air exchange throughout your home. Combined with proper outside vent installation, this simple habit transforms your bathroom’s moisture problem completely!
Maintenance That Keeps Your Fan Working

You’ve got to keep your exhaust fan running strong, and that means staying on top of three key maintenance tasks: cleaning your filter regularly, inspecting the ductwork for blockages, and scheduling annual professional checks. Think of it like brushing your teeth—skip it for a few months and you’ll definitely regret it! I’ve seen bathrooms transform just by keeping up with these simple habits, so you’re already on the right track.
Regular Filter Cleaning Schedule
Why does your bathroom fan seem to lose power over time? Dust and debris clog your bathroom exhaust fan, blocking airflow maintenance naturally. You’ll want to establish a regular filter cleaning schedule to keep everything running smoothly!
Here’s your game plan for staying on top of things:
- Clean filters every 1–3 months depending on use
- Gently remove the fan cover and vacuum with a brush attachment
- Wipe the grille with a damp cloth each session
Set phone reminders—seriously, it works! Keep a maintenance log tracking when you’ve cleaned. This simple habit prevents reduced airflow and visible dust buildup before they become problems. Professional duct cleaning becomes necessary only after remodeling or when you notice stubborn issues. You’ve got this! Consistent bathroom exhaust fan care means better ventilation and genuine peace of mind.
Inspect Ductwork For Blockages
Once your bathroom exhaust fan’s been running for a while, the ductwork behind the scenes gets clogged with dust, lint, and debris—and that’s where real ventilation problems start! You’ll want to regularly inspect those ducts using a flashlight and hose attachment to tackle blockages before they worsen.
Here’s what you’re looking for: visible dust accumulation, lint clumps, or crushed sections restricting airflow. These blockages directly sabotage your exhaust airflow and humidity control!
For accessible ductwork, vacuum openings thoroughly. But here’s the thing—if your ducts run through walls or attics where you can’t easily reach, call a professional duct cleaning service. They’ve got specialized equipment for extensive hidden sections.
Damaged ducts? Replace them promptly! Proper venting directs air outside, never into attics or walls. Your bathroom’s moisture control depends on clear, unobstructed ductwork functioning perfectly!
Professional Annual Maintenance Checks
After you’ve tackled those blockages and gotten your ductwork flowing freely, here’s the truth: one good cleaning won’t cut it forever. You’ll want to schedule annual maintenance checks for your bathroom exhaust fan to keep everything running smoothly.
During these professional inspections, technicians will:
- Clean filters and vents thoroughly, removing stubborn dust and lint buildup
- Inspect seals, mounting hardware, and moving parts for wear or damage
- Verify your venting discharges outside, not into attic spaces
Think of annual maintenance as your fan’s best friend. It prevents fire risks, reduces noise and vibration, and keeps your bathroom moisture-free year-round. A professional will catch problems you’d miss, ensuring your ductwork stays clear and efficient. You’re investing in comfort and safety!
Use Windows and Skylights for Natural Airflow

How’s this for a game-changer: simply opening a window or skylight after your shower can transform your bathroom’s air quality in minutes! You’re tapping into natural ventilation, which pushes humid air outside while bringing fresh air in.
Here’s the thing—effectiveness depends on your windows’ condition and how easily they open. Multi-aspect bathrooms with windows on opposite walls? You’ll get amazing cross-ventilation that really works! Make sure you’re cleaning condensation regularly; it prevents mold and keeps airflow clear.
Got damaged or tiny windows? Consider upgrading them or adding skylights. Just remember: in winter, opening windows causes heat loss, so balance this method with other ventilation strategies.
You’ve got this! Natural airflow costs nothing and feels fantastic.
Add a Portable Fan for Immediate Relief
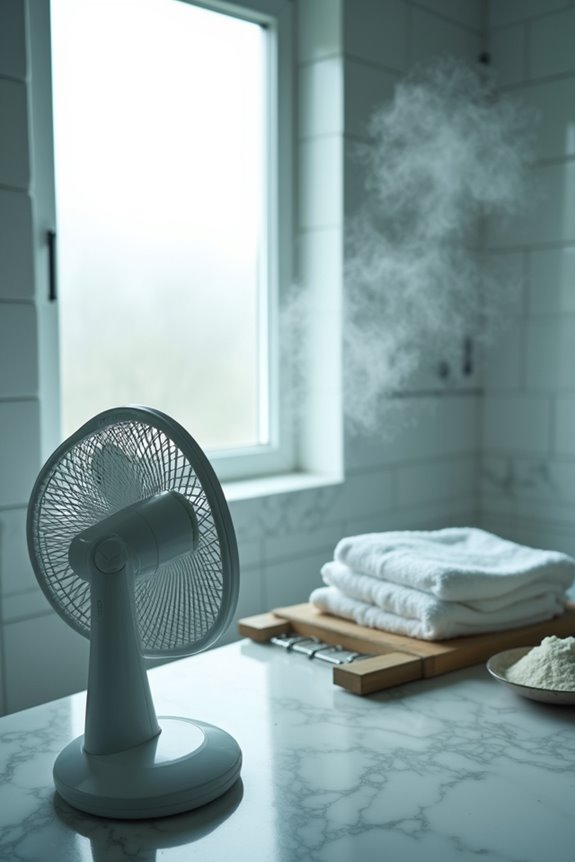
If you’re tired of stepping out of the shower into a foggy bathroom that smells like wet gym socks, a portable fan might be your quickest fix—and I’m not exaggerating!
These budget-friendly devices ($40–$200) immediately tackle moisture removal by circulating air and pushing humidity toward open windows. Here’s why they work:
Budget-friendly portable fans ($40–$200) immediately tackle bathroom moisture by circulating air and pushing humidity outdoors.
- Stand-alone models like the Vornado VFAN offer adjustable speeds and pivoting heads for targeted airflow
- Position fans near doorways or windows to establish cross-ventilation and expel humid air outdoors
- They’re temporary solutions that complement exhaust fans or dehumidifiers for larger bathrooms
Want maximum results? Use your portable fan right after showers when bathroom humidity peaks. You’ll notice reduced condensation and fresher air within minutes. While not a permanent solution alone, this inexpensive approach gives you breathing room while planning bigger ventilation upgrades. It’s genuinely one of the easiest wins you can grab today!
When to Add a Dehumidifier to Your Ventilation Setup

While your portable fan’s doing great work pushing moist air around, here’s the thing—sometimes that humidity just won’t budge on its own, especially in smaller bathrooms where moisture gets trapped.
That’s when a dehumidifier becomes your secret weapon! You’re looking at a device that pulls moisture directly from the air, lowering humidity levels significantly. Think of it as your bathroom’s backup plan.
Here’s the smart approach: combine your dehumidifier with exhaust fans for maximum impact. This partnership tackles air flow from two angles—one removes moisture, the other exchanges stale air for fresh air. You’ll notice mold and mildew backing off almost immediately!
Running costs vary by model, so pick one matching your bathroom size. Most people find portable units work brilliantly in smaller spaces. Trust us—this combo changes everything!
When Professional Help Is Worth the Investment

Sometimes DIY solutions just don’t cut it—and that’s totally okay! When you’re dealing with persistent moisture control issues, calling in experts like Bathroom Remodeling Of Maryland, Inc. makes real sense. Here’s why professional installation matters:
Sometimes DIY solutions just don’t cut it—and that’s totally okay! Professional expertise transforms fragmented fixes into lasting bathroom health solutions.
- Proper exhaust fans sized correctly for your space
- Expert humidity management through integrated systems
- Professional installation with sealed connections preventing leaks
Specialists optimize everything for Maryland’s climate, ensuring your venting reaches outside properly—not into your attic where moisture damages insulation. They’ll inspect seals, recommend skylights or cross-ventilation strategies, and create maintenance plans keeping your bathroom healthy long-term.
You’re investing in peace of mind! Professional teams transform fragmented fixes into cohesive solutions. Rather than guessing which approach works best, you’re getting tailored expertise. That’s belonging to a community choosing smart, lasting bathroom health!