
You absolutely can paint bathroom floor tiles! Start by sanding with 80-grit, then 220-grit sandpaper to scuff the glaze. Clean everything thoroughly—grime prevents paint from sticking. Fill cracks with caulk and let dry completely. Apply Extreme Bond Primer, wait six hours, then topcoat with Emerald Interior Acrylic Latex. Remove painter’s tape while tacky for crisp edges. Wait 24 hours before walking on it, 72 hours before moving furniture back. Full cure takes seven days. Want specifics on prep work and long-term maintenance?
Is Painted Tile Durable Enough for Your Bathroom?
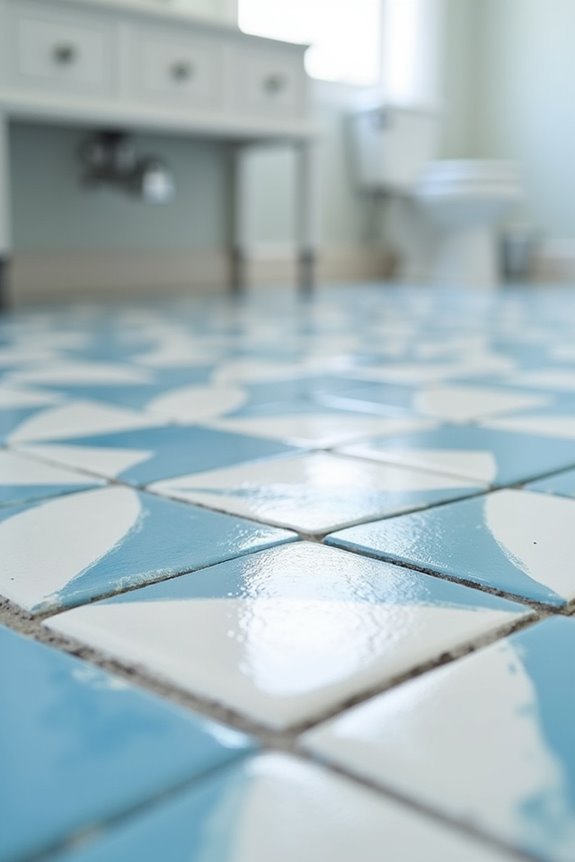
When you’re staring at those tired bathroom tiles and thinking about a quick paint fix, you’re probably wondering: will it actually hold up?
Here’s the honest truth: painted tile durability depends heavily on your bathroom’s traffic and moisture levels. Low-traffic areas? You’ve got solid options. But high-moisture bathrooms present real challenges.
Success hinges on three critical factors:
Adhesion primer creates the foundation. Products like Extreme Bond dramatically improve paint grip on slick surfaces. Don’t skip this step!
Moisture resistance matters tremendously. High-quality paints like Emerald Interior Acrylic Latex withstand bathroom conditions better than standard options.
Post-paint care makes or breaks longevity. Allow several days’ curing time before heavy use, and apply protective topcoats for enhanced wear resistance.
Real projects show mixed results—some entryways stayed pristine for years, while others needed maintenance sooner. Your commitment to proper preparation determines everything!
Choose the Right Paint and Primer for Floor Tiles
Why do so many bathroom tile painting projects fail? They skip the primer! Here’s the truth: you can’t just slap paint on ceramic tile and expect it to stick. You need the right combination of primer and floor coating to succeed.
You can’t just slap paint on ceramic tile and expect it to stick. You need the right combination of primer and floor coating to succeed.
Start with Extreme Bond Primer on glossy surfaces—it grips like nothing else. Then apply your topcoat using Rust-Oleum HOME Floor Coating or Emerald Interior Acrylic Latex, both specifically designed for floor durability.
Here’s what matters: primer improves adhesion dramatically. Use a 3/8-inch nap roller for even application. Remove painter’s tape while paint’s still wet for crisp edges.
The secret? Quality products plus proper technique equals lasting results. You’ve got this!
Gather Your Supplies and Safety Gear

Success hinges on preparation—and you’re already halfway there by deciding to do this right! You’ll need specific supplies to transform those tired tiles into a fresh surface.
| Item | Purpose | Grit/Type |
|---|---|---|
| Sandpaper | Scuff glaze | 80, 120, 220 |
| Electric sander | Speed up work | Variable speed |
| Bonding primer | Improve adhesion | STIX or Extreme Bond |
| Stripper/cleaner | Remove buildup | Heavy-duty formula |
| Painter’s tape | Protect edges | Standard width |
Grab safety gear first—protective eyewear and a respirator aren’t optional! They’ll shield you from dust and chemical fumes during sanding and cleaning. This stripper/cleaner removes grime, wax, and old coatings efficiently. Your bonding primer creates the perfect grip for paint on slick surfaces. Finally, painter’s tape protects baseboards and fixtures beautifully. You’re assembling your winning team!
Sand and Scuff Your Tiles for Primer Adhesion
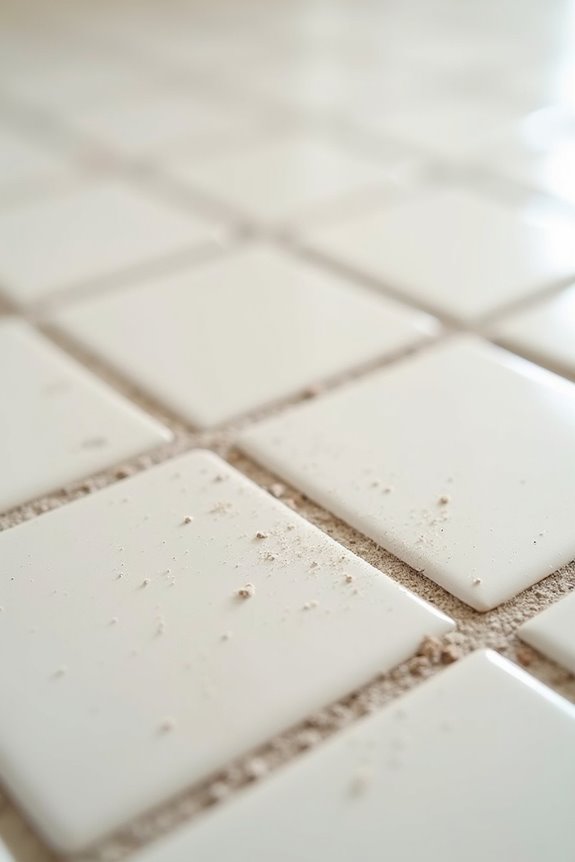
You’re going to want to start by scrubbing away any grime and stuck-on crud with a degreaser—I can’t stress this enough, because primer won’t stick to dirty tile! Now grab your electric sander and work through the grit progression: start with 80-grit for heavy scuffing, move to 120-grit for smoothing, and finish with 220-grit for that perfect matte surface that’ll make your primer grip like nobody’s business. Don your protective eyewear and respirator (trust me, you don’t want tile dust in your lungs), then vacuum every speck of dust when you’re done—because leftover debris is basically an invitation for primer failure!
Grit Progression And Technique
Here’s the thing about bathroom tiles—that shiny glaze? It’s your enemy when painting! You’ll need grit progression to win this battle. Start with 80-grit sandpaper to scuff the surface aggressively, creating that essential texture for primer adhesion. Then move to 120-grit, which smooths things while maintaining bite. Finish with 220-grit for a uniform, professional feel.
Use an electric sander on flat areas for speed and consistency. But here’s where patience pays off: hand-sand those recessed areas and edges yourself. This technique ensures uniform texture everywhere, which directly impacts tile paint durability.
After sanding finishes, you’ll notice dust everywhere—seriously, everywhere! Wipe down thoroughly before priming. This surface preparation step determines whether your paint job lasts years or months. You’ve got this!
Dust Containment And Safety
Sanding bathroom tiles creates a dust cloud that’ll settle on every surface—your lungs included—so containing that mess matters more than you’d think. You’re protecting yourself and keeping your home clean simultaneously!
Here’s your safety game plan: Wear a respirator (not just any mask—a real one rated for dust) and protective eyewear. Use an electric sander with 80–120 grit sandpaper in alternating passes, which scuffs that glaze effectively while promoting primer adhesion.
Contain dust with plastic sheeting or drop cloths around your work area. Vacuum thoroughly before applying primer to ensure a clean bonding surface.
After scuffing, perform a dry wipe or damp-rag wipe to remove sanding dust. Why? You’re verifying the surface is genuinely ready for primer. This simple step prevents adhesion problems later!
Surface Preparation Verification
What’s really stopping paint from sticking to bathroom tiles? That slick, glossy surface! You’ll need proper surface preparation to succeed.
Start by sanding your tiles to scuff the glaze. This crucial step improves primer adhesion dramatically. Use an electric sander, alternating between 80, 120, and 220-grit sandpaper for best results. You’re essentially creating tiny tooth marks that primer can grip.
Next, remove all surface grime and stuck-on crud before priming. Vacuum thoroughly, then wipe with a damp cloth. Let everything dry completely—this matters more than you’d think!
Once cleanliness is verified, protect surrounding edges with painter’s tape. Remove any wax residue too. Your tiles are now ready. You’ve done the hard work that separates amateur attempts from professional-looking bathrooms. That’s the foundation for paint that actually sticks!
Clean, Repair, and Prepare Your Floor
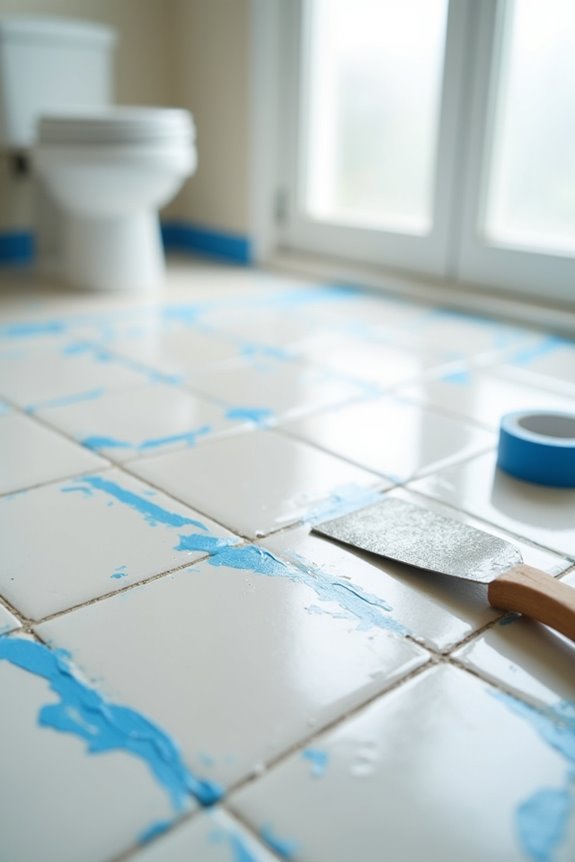
Before you even think about primer, you’ve got to give those tiles a real cleaning—grab some Krud Kutter or similar cleaner to zap away dirt and grease that’ll sabotage your paint job. Once you’ve scrubbed down and removed any floor wax, take a close look at your grout lines and fill any cracks or damage with patching compound, because painting over compromised grout is like building a house on quicksand! Make sure everything’s completely dry before moving forward—trust me, I’ve learned the hard way that moisture and fresh paint aren’t friends.
Thorough Surface Cleaning
Getting your bathroom floor ready for paint isn’t glamorous, but it’s absolutely essential—and honestly, it’s where most DIYers accidentally sabotage their own projects! Before you even think about primer, you’ll tackle thorough cleaning. Here’s your game plan:
- Use a heavy-duty stripper or degreaser to remove built-up grime and stuck-on crud
- Mop with warm water repeatedly until the surface sparkles
- Don’t skip wax removal—it’ll wreck your paint adhesion faster than you’d expect
Your tiles need serious attention. You’re essentially resetting the surface so paint actually sticks! Think of it like prepping a canvas. Those bathroom floors take a beating with moisture and foot traffic, so they collect stubborn debris. Take your time here. This step determines whether your project succeeds or fails spectacularly!
Grout Repair and Patching
Now that your tiles are squeaky clean, it’s time to tackle the grout—and honestly, this step separates the “wow, that looks professional!” projects from the ones that fail in six months.
Your grout repair starts with drying. Make sure everything’s completely moisture-free before applying paintable caulk to fill cracks and bare spots. Apply caulk evenly, smoothing it with your finger to match existing tile seams. Why does this matter? Uneven grout creates visible imperfections that tile paint can’t hide.
Next comes primer for painting. Use a bonding primer like STIX on grout edges—it dramatically improves adhesion for your bathroom floor’s top coats. If patching affects texture, lightly re-sand before continuing. This preparation transforms your grout into a solid foundation that’ll support your tile paint beautifully. You’re almost ready!
Prime and Paint Your Tiles in Coats
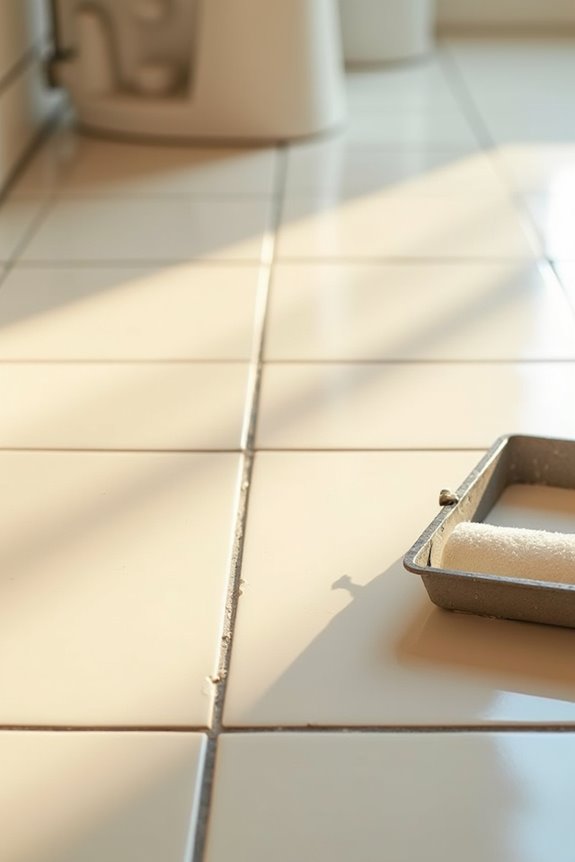
Since your tiles are slick and shiny (which is honestly their whole vibe), they’ll reject paint faster than a cat rejects a bath unless you prime them first!
Here’s your game plan:
- Prime with purpose: Use Extreme Bond Primer on your tile floor for maximum adhesion. This step’s non-negotiable!
- Let it cure: Allow six hours drying time before applying your topcoat. Patience pays off here.
- Paint strategically: Apply Emerald Interior Acrylic Latex or equivalent topcoat using a roller for large areas and a brush for edges.
Test adhesion in a small corner first—you’ll feel confident knowing your paint selection actually sticks. Remove painter’s tape while the finish stays tacky for crisp, clean edges. Your bathroom transformation’s almost complete!
Apply a Protective Topcoat or Add Stencil Designs
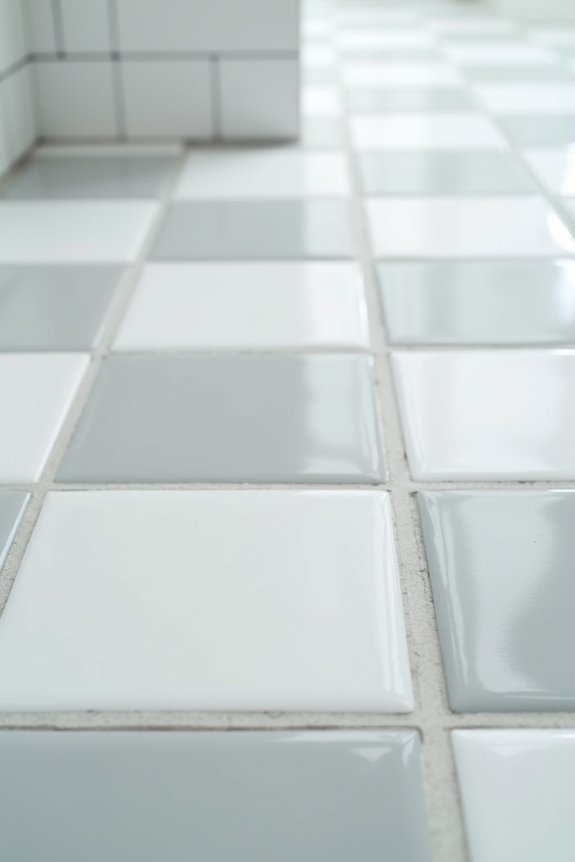
Your bathroom floor’s looking pretty fantastic right now, and you’re probably wondering what comes next—should you lock in that fresh paint job or get creative with designs?
Here’s where you decide: Want maximum durability? Apply a polyurethane topcoat after your final coat dries. It’s like adding armor to your work, though future touch-ups become trickier.
Prefer personality? Try stencil designs instead! Wait six hours for your base coat’s drying time, then grab a stencil brush for crisp edges. Test your epoxy/paint adhesion on a small area first—trust me, preventing bleed-through beats fixing mistakes.
The topcoat dries to the touch in 1–2 hours, but hold off heavy furniture for 72 hours. Your bathroom floor deserves this final polish, and you’ve absolutely earned it!
Cure Your Floor and Establish a Care Routine
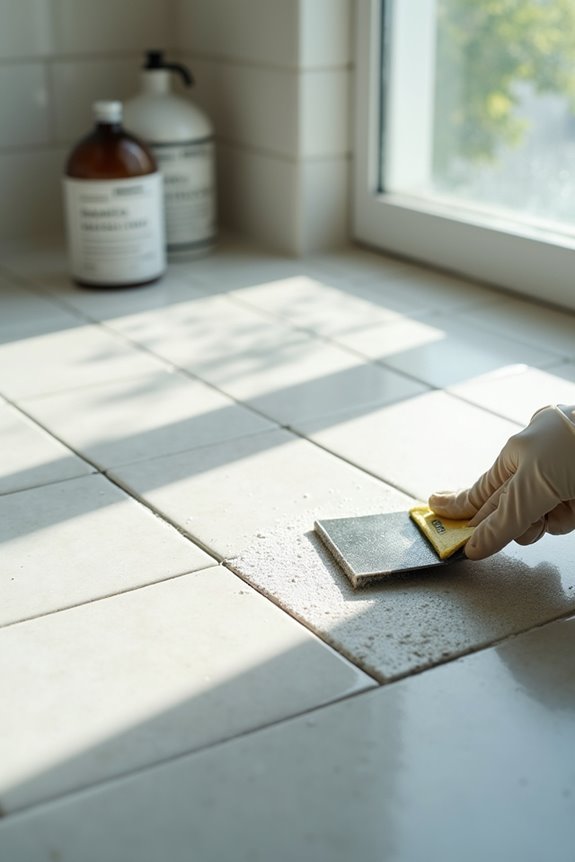
Whether you’ve added a topcoat for maximum protection or chosen stencil designs for visual pop, the real magic happens during the curing stage—and honestly, this is where patience pays off big time!
Your Rust-Oleum HOME Floor Coating needs time to harden properly. Here’s your curing timeline:
- 24 hours: Wait before walking on your newly painted floor
- 72 hours: Hold off placing furniture back in the room
- Seven days: Full cure completes; avoid heavy cleaning during this period
During these crucial weeks, treat your floor gently. Skip dragging heavy objects or wearing heels. Once fully cured, establish a simple care routine using mild soap and water or Krud Kutter Cleaner & Degreaser.
This patience investment protects your beautiful work and ensures long-lasting durability!