

You’ll start by identifying your sink type—top-mount, undermount, or farmhouse—since each requires different measurements. Grab a flexible tape measure, notepad, and level, then measure your countertop cutout at three spots for accuracy. Record width, depth, and length in inches and tenths. Check your cabinet’s interior dimensions against the sink’s specs. Verify faucet clearance from the backsplash and confirm your plumbing drain won’t collide with cabinet hardware. Match those measurements to your new sink, and you’re golden! Want the complete breakdown?
Why Accurate Sink Measurements Matter (And What Goes Wrong)
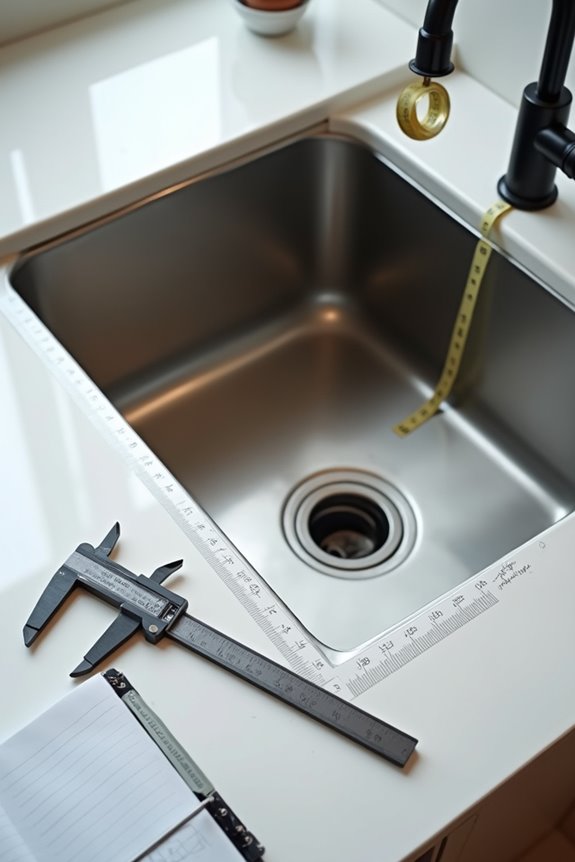
Ever wonder why some kitchen renovations end up looking professionally installed while others have awkward gaps and leaks?
Why do some kitchen renovations look professionally installed while others develop awkward gaps and leaks?
The answer’s simple: precise sink measurements matter! You’ll prevent costly mistakes by understanding your cabinet space and sink dimensions before installation. Here’s what happens when you skip this step: gaps appear around edges, water leaks develop, and you’re stuck modifying expensive cabinetry.
Your measuring tape becomes your best friend during fitting accuracy checks. You’ll need to measure interior width, cutout size, and overall cabinet space—details that seem small but make huge differences. Even a “33-inch sink” won’t always fit a 33-inch cabinet because mounting hardware and material thickness eat into available room.
Smart installation planning catches these problems early. You’re avoiding installation stress, preventing misfits, and ensuring plumbing aligns perfectly. Trust me—accurate measurements transform your entire renovation experience!
Identify Your Sink Type First: Top-Mount, Undermount, or Farmhouse
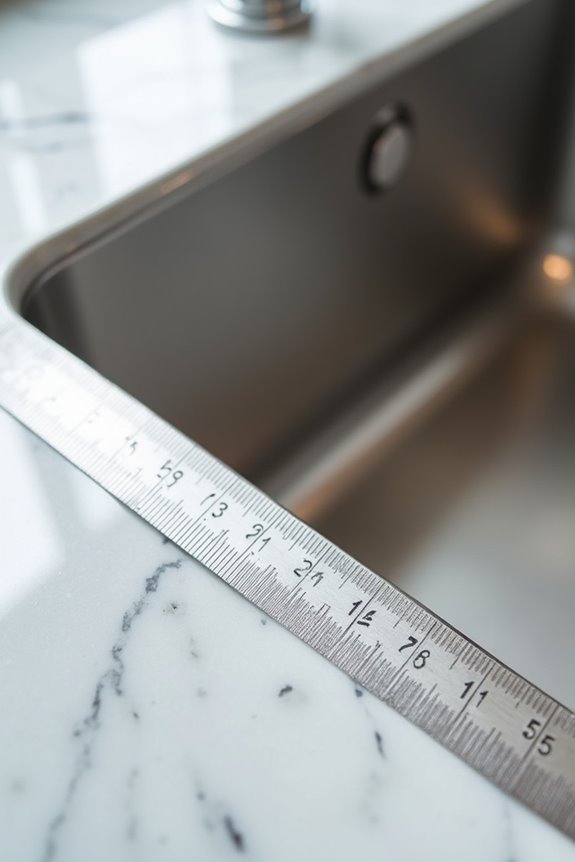
What’s the single most important decision before you pull out your measuring tape? Identifying your sink type!
You’ve got three main players: top-mount, undermount, and farmhouse sinks. Each one demands different measurements—trust me, mixing them up wastes time and money.
Top-mount sinks sit on your countertop with rim overlap. You’ll measure the countertop opening to be slightly smaller than the basin’s widest top rim. Simple!
Undermount sinks fit inside the cabinet with precision. Here, you’re measuring the interior basin dimensions for flush countertop edges and checking cabinet clearance for plumbing.
Farmhouse sinks? They’re the wildcards! Some are undermount; others are rimmed apron-front styles. You’ll measure either the interior basin or full rim dimensions depending on whether that gorgeous apron extends beyond your counter.
Knowing your type transforms measurement strategy instantly.
Gather Your Tools: Tape Measure, Notepad, and Level
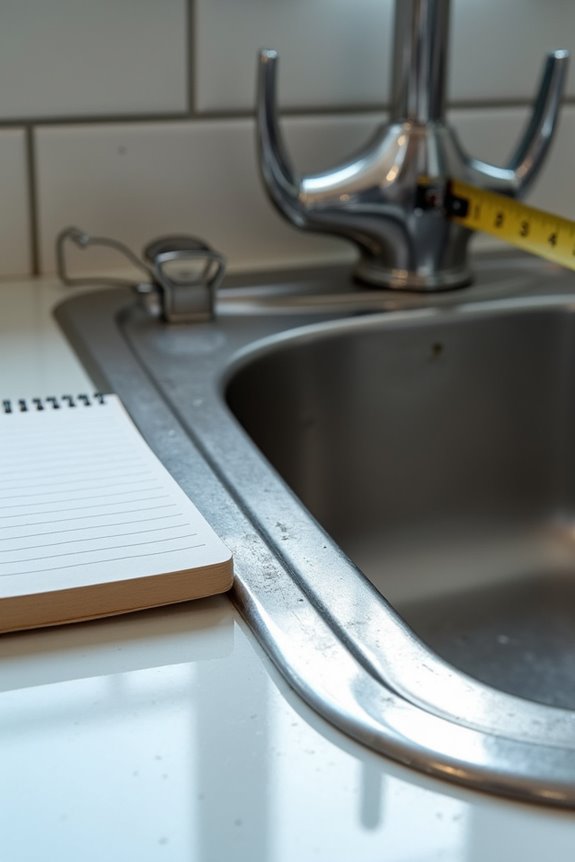
Before you measure anything, you’ll want to round up the right equipment—and honestly, this step saves you from the frustration of halfway through realizing you’re missing something essential. A flexible tape measure is your best friend here; it bends around corners easily and captures those tricky fractional inches. Grab a notepad and pencil too—trust me, your memory won’t cut it later! A level ensures you’re catching any slopes in your kitchen sink area. These simple tools transform measuring steps into accurate ones. Take notes and photos as you go; they’re lifesavers when comparing dimensions later. Pro tip: mark reference points with masking tape on your countertop for consistent measurement accuracy. Clear your sink area first and turn off water supply if needed. You’ve got this!
Measure the Countertop Cutout Opening
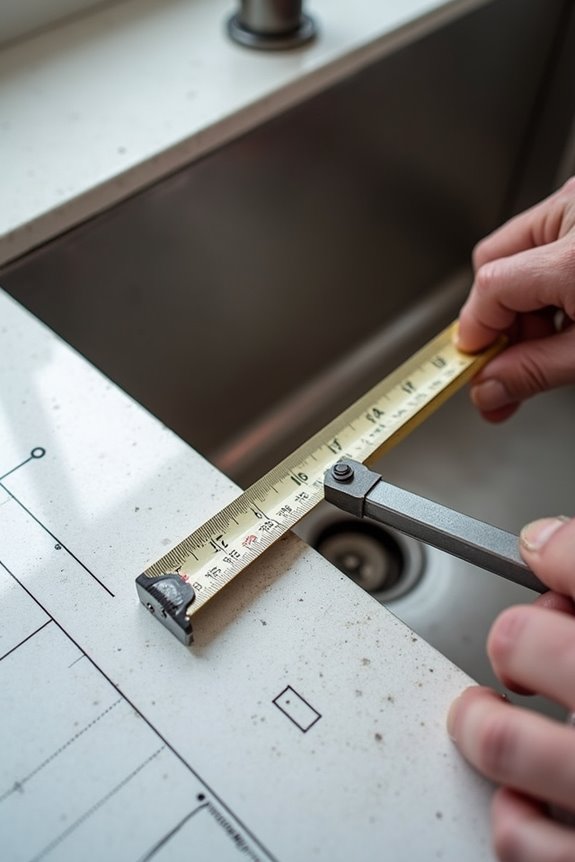
Now comes the really important part—measuring that countertop cutout opening where your sink’ll actually sit! You’re basically finding the exact space that’ll hold your new sink, and getting this right prevents frustrating gaps or rocking.
Here’s what you’ll do:
- Measure inside the cutout opening at three different spots—top, middle, and bottom—recording both the length and width in inches and tenths (like 29 7/8″).
- Use the smallest dimensions you find across all three spots to account for any irregularities in your countertop.
- Determine the corner radius—that’s the curve at each corner—so your top-mount or undermount sink fits snugly without gaps.
- Take photos or create a template of your cutout opening to compare against your sink’s recommended interior dimensions.
These measurements become your blueprint for success!
Width, Depth, and Length: The Three Measurements That Matter
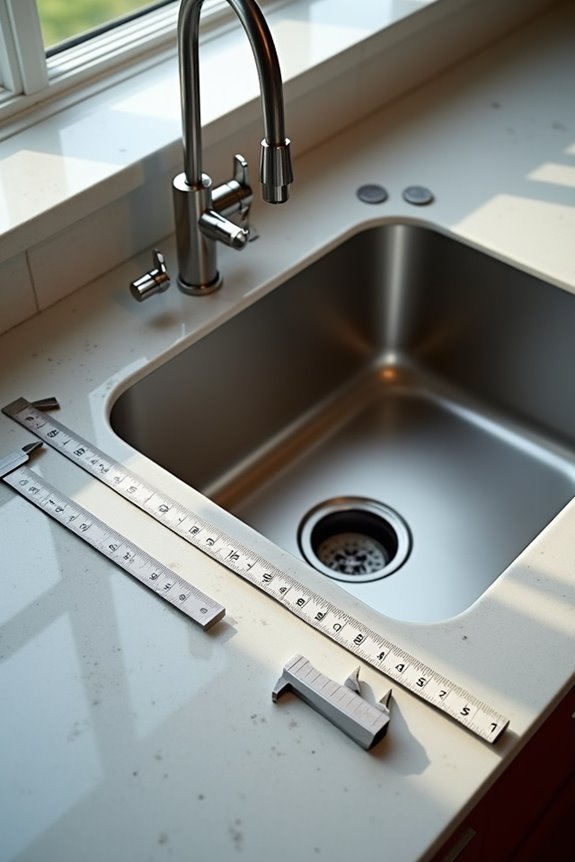
Once you’ve got your cutout opening locked down, it’s time to focus on the three measurements that’ll make or break your sink selection: width, depth, and length.
Start with width—measure from outer edge to outer edge across the sink’s widest point. For top-mount sinks, check the rim’s broadest span. Next, tackle length by measuring front to back, including multiple basins and dividers. If you’re considering a farmhouse sink, don’t forget that portion extending beyond your counter!
Finally, depth matters more than you’d think. Measure from the top rim straight down to the basin’s bottom. Most sinks range 6 to 10 inches, but deeper bowls affect your cabinet space and plumbing setup.
Recording your interior cutout dimensions and corner radius ensures your installation goes smoothly!
Standard Kitchen Sink Sizes: Is Your Measurement Typical?
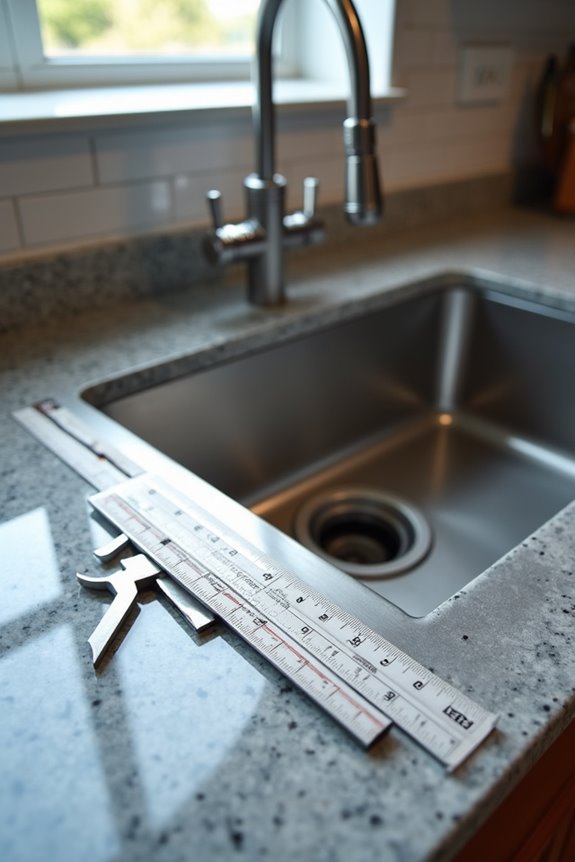
Now that you’ve got the basic width, depth, and length down, you’re probably wondering if your sink measurements actually match what’s typical out there—and I’ve got good news, because most standard kitchen sinks cluster around predictable ranges like 24–36 inches long and 18–24 inches wide, though the material thickness of your sink’s rim or bowl can shift those numbers in sneaky ways! What’s “standard” really depends on your cabinet width (often 30, 36, or 42 inches) and how much the sink’s material takes up—stainless steel rims, ceramic glazing, and farmhouse aprons all eat into usable space differently. Once you understand these common ranges and material variations, you’ll know exactly whether your sink is playing by the rules or breaking them on purpose!
Common Cabinet And Sink Widths
Before you even think about shopping for a sink, you’ve got to know what’ll actually fit in your kitchen! Your base cabinet width determines everything—and that’s where most folks get tripped up.
Here’s what you’re working with:
- Standard base cabinets run 30 to 36 inches wide
- Most kitchen sink widths fall between 18 to 24 inches
- Sink length typically ranges from 24 to 36 inches
- Depth commonly measures 8 to 10 inches
Your sink width needs to fit comfortably inside that cabinet opening. The cutout you’ll make in your countertop depends on your sink type and mounting style. Knowing these kitchen sink measurements beforehand saves you from costly mistakes. You’re already ahead by understanding these dimensions—seriously!
Depth And Basin Capacity Standards
You’ve nailed the width and length measurements—great job!—but here’s where things get really interesting: depth is the dimension that’ll actually affect your daily kitchen life.
Standard kitchen sinks run 8 to 10 inches deep, though deeper options exist for ambitious cooks. Here’s what matters: measure your interior depth from the rim straight down to the basin bottom. That’s your real usable space!
Why does this count? Your measurement determines under-sink storage, plumbing layout, and trap clearance for disposals. If you’re going undermount, factor in countertop thickness and reveal—that gap showing between sink and counter edge.
Farmhouse sinks extend beyond your counter, potentially requiring cabinet modifications. Think about what you’ll actually wash. Deeper basins handle large pots beautifully. Shallower ones? They’re trickier but offer more counter workspace.
Know your basin capacity. It’s game-changing.
Accounting For Material Thickness Variations
Material thickness might seem like a tiny detail, but it’ll directly impact whether your new sink actually fits your countertop!
Here’s what you need to know:
- Stainless steel sinks add only a few millimeters, giving you maximum usable space underneath
- Enamel-coated cast iron adds considerably more thickness, reducing underside clearance significantly
- Top-mount installations require your countertop cutout slightly smaller than the basin’s widest rim for proper overlap
- Undermount sinks need snug fitting within the cutout, accounting for counter thickness and reveal clearance
Think of material thickness as the hidden player affecting your cabinet width and rim/front overlap calculations. Stainless won’t steal much space, but cast iron demands respect! Measure your sink’s actual rim thickness before finalizing that countertop cutout. You’ll thank yourself during installation when everything slides into place perfectly!
Check Your Cabinet: Will the Sink Actually Fit?
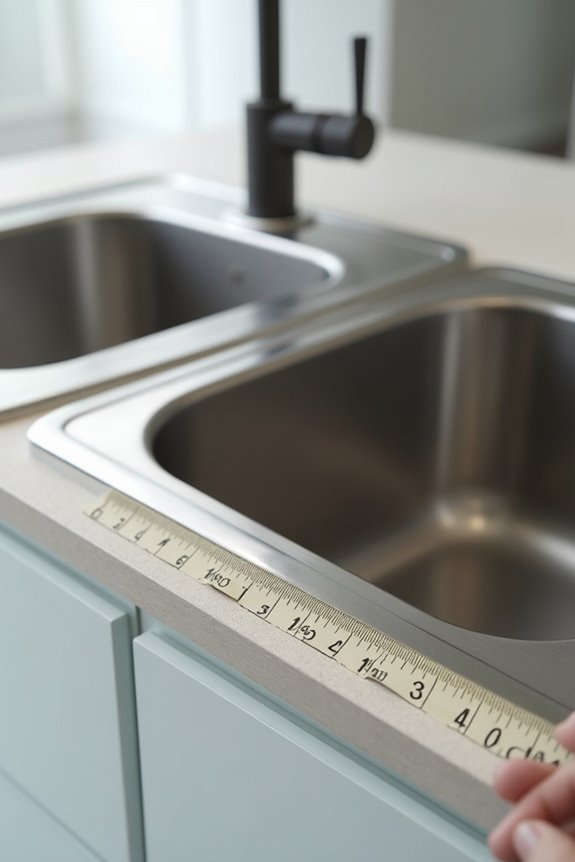
Here’s where the rubber meets the road—does your shiny new sink actually fit inside your cabinet? You’ll need to measure your cabinet’s interior width carefully, not just trust the exterior dimensions. Most base cabinets run 30 to 36 inches wide, but your actual usable space might surprise you!
Grab your tape measure and check the opening dimensions where your existing cutout sits. Compare these measurements against your new sink’s interior width requirements. For undermount installations, verify that the cabinet interior accommodates both the sink’s rim and mounting hardware without crowding your plumbing connections.
If you’re switching installation types, use templates as your guide. Measure twice, measure three times if needed! This measurement accuracy prevents costly countertop modifications and installation headaches later.
Account for Faucet Placement and Backsplash Clearance
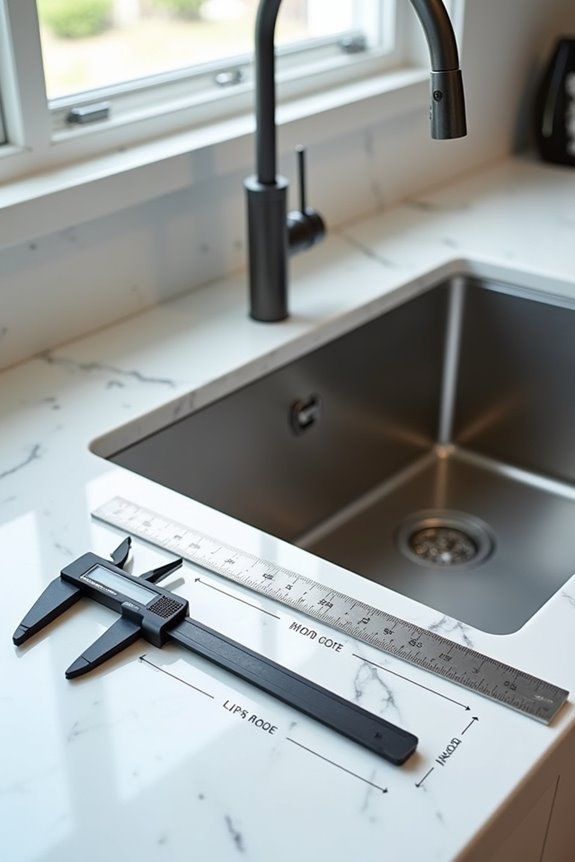
Now that you’ve confirmed your sink fits the cabinet, it’s time to think about what happens above it—the faucet and backsplash situation!
Here’s what you’ll need to consider:
- Measure faucet clearance – Leave adequate space between your sink basin and backsplash so faucet hardware installs without interference or awkward angles.
- Account for countertop depth and backsplash thickness – These measurements directly affect available surface area for faucet holes and the arch of your fixture.
- Verify alignment on undermount sinks – Check that faucet centers and holes align perfectly with counter edges and confirm rear clearance exists for deck-mounted fixtures.
- Check supply line access – Ensure enough rear clearance behind the backsplash for supply lines, shutoffs, and millwork.
Smart planning prevents costly reinstallation headaches!
Verify Your Plumbing Won’t Block the Drain
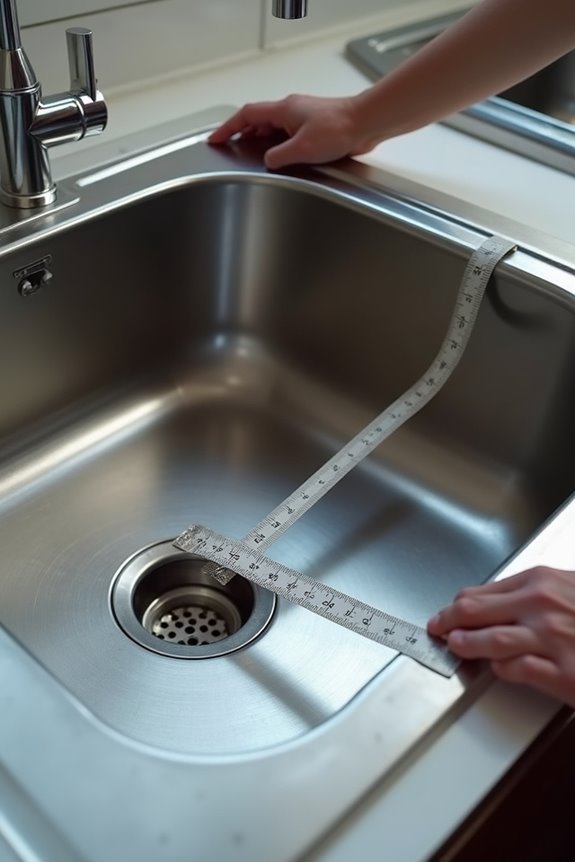
You’ll want to check your drain outlet location and P-trap clearance before finalizing your sink choice—trust me, discovering a conflict after installation is no fun! Verify that your sink’s drain hole aligns with the rough drain outlet behind your cabinet, and measure the space around your P-trap to ensure your basin won’t sit too low or create interference. A quick look underneath with a flashlight typically saves you from costly plumbing adjustments down the road!
Drain Outlet Location Check
What’s hiding under your sink right now? That’s exactly where drain outlet location matters most! You’ll want to check several things before committing to your sink choice:
- Measure the distance from your basin bottom to existing P-trap connections
- Verify offset drain positions won’t collide with cabinet sides or mounting hardware
- Check bowl depth against your rough-in compatibility—centered versus offset matters greatly
- Confirm undermount clearance and apron-front interference won’t create installation headaches
Your plumbing clearance determines everything. If you’ve got an offset drain, you might need extra piping adjustments afterward. Test-fit mentally or use cardboard templates! Don’t assume standard positioning works for your setup. This step prevents costly mistakes and ensures smooth installation. You’ve got this!
P-Trap Clearance Verification
Ever had a sink that looked perfect until installation day, when suddenly the P-trap—that U-shaped pipe under your sink—wouldn’t fit?
Here’s the thing: P-trap clearance measurement is absolutely essential. You’ll want to verify your drain location aligns with existing plumbing so you’re not scrambling later. Check vertical clearance from your cabinet floor to the basin bottom—you need roughly 6-8 inches for the trap and disposal unit.
Next, examine your cabinet interior’s horizontal space. That U-bend requires room to breathe! Measure for elbow connections and ensure nothing touches side walls or supports.
Here’s my friendly advice: account for drain outlet height and trap height together. This plumbing compatibility check prevents frustrating leaks and clogs down the road. Take these measurements seriously, and installation day becomes genuinely stress-free!
Your Measurements Are Done: Now Match Them to a Sink
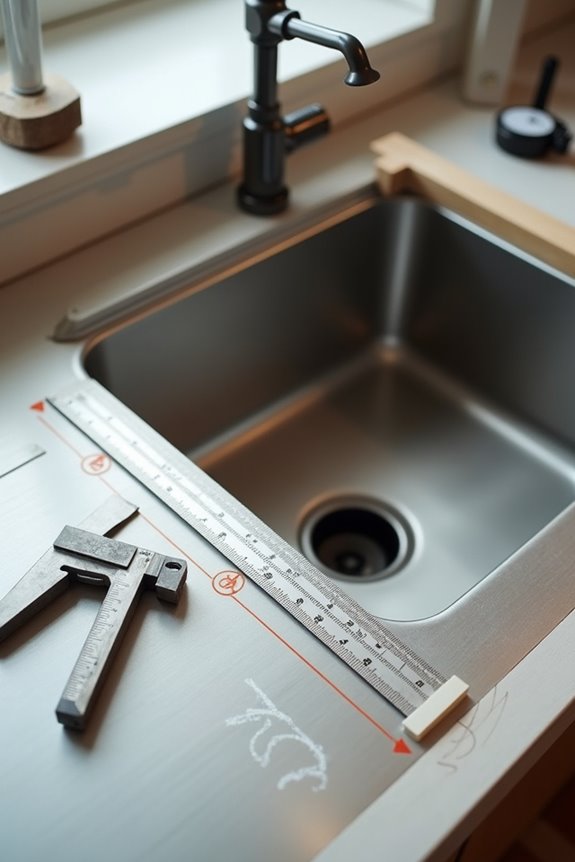
Now comes the fun part—finding that perfect sink that’ll actually fit! You’ve got your measurements ready, and it’s time to match them to an actual sink model. Here’s how to nail this:
- Compare your opening dimensions to the sink size specs—the smallest cutout measurement matters most for a flush fit
- For top-mount sinks, verify your opening’s slightly smaller than the sink’s widest rim so it rests perfectly on your counter
- For undermount or farmhouse styles, ensure interior basin dimensions match your opening while accounting for counter thickness
- Check plumbing space, faucet clearance, and drain placement to prevent P-trap interference
Don’t skip verifying rim coverage and apron alignment either! Those little details prevent gaps and frustration later. You’re almost there!