
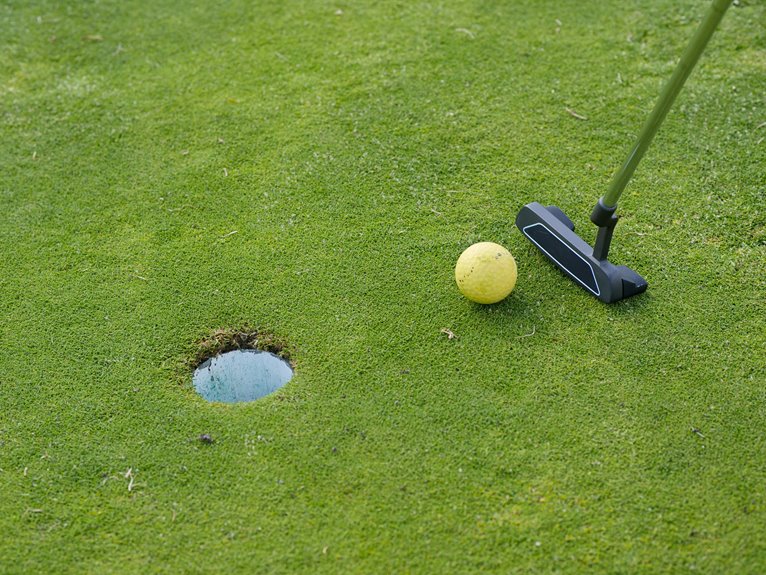
You’ve got this! Start by choosing synthetic grass for easy maintenance or natural grass for serious practice. Evaluate your yard’s drainage and shade—honestly assess your commitment level. Dig 5–10 inches, layer limestone and crushed concrete, then compact firmly. Shape contours with a 2% slope, install perforated drainage pipe, and roll out your putting surface. Seal edges, add infill, and test drainage with a Stimpmeter for speed around 11–13 feet. Balance everything together, and you’re ready to putt! Want the complete breakdown of each step’s specifics?
Step 1: Choose Synthetic or Natural Grass for Your Site
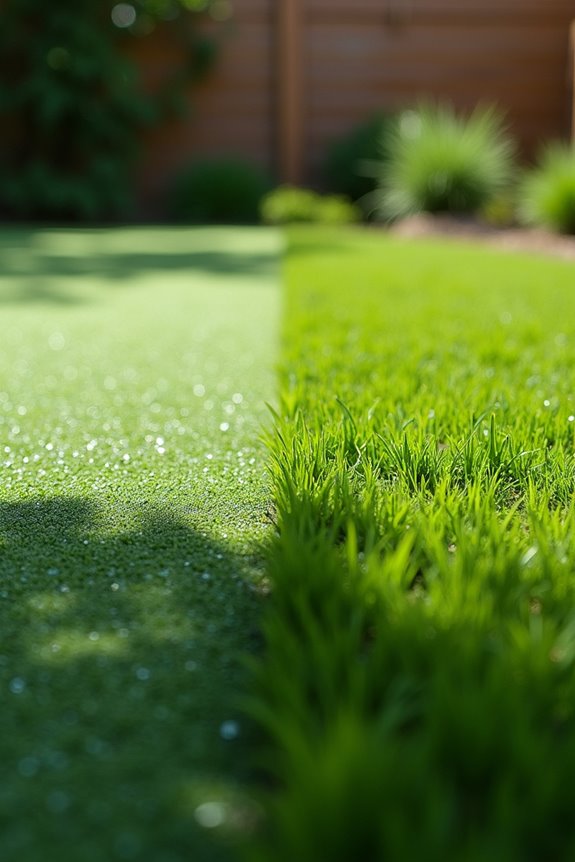
How do you want your putting green to look and feel? This question kicks off your entire project! You’ve got two main putting green options: synthetic greens or natural grass.
How do you want your putting green to look and feel? This question kicks off your entire project with two main options: synthetic greens or natural grass.
Synthetic greens win for most homeowners. They’re easier to build, require minimal maintenance requirements, and thrive in shade or tight spaces. No special irrigation system needed!
Natural grass demands more commitment. You’ll need subsurface drainage, a dedicated rootzone, and climate-appropriate grasses. Plus, you’ll install a dedicated irrigation system—standard lawn sprinklers just won’t cut it.
Here’s the real talk: consider your site considerations carefully. Have limited space? Go synthetic. Want serious game improvement and can handle ongoing costs? Natural grass might be your answer.
Both options deliver results. Choose what matches your lifestyle and goals!
Step 2: Evaluate Your Yard and Commitment Level
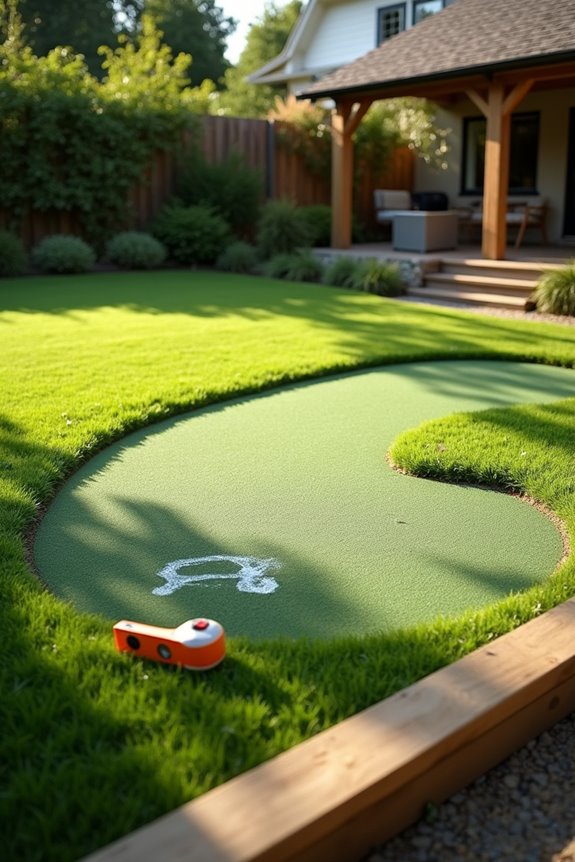
Before you break ground, you’ve got to get real about your yard and yourself—honestly!
Your backyard layout determines everything. Shade kills natural grass dreams, making synthetic greens your best friend. Dry climates? Artificial options eliminate endless watering. Consider your commitment level carefully—natural greens demand superintendent-level maintenance routines. That’s weekly mowing, fertilizing, and pest management!
| Factor | Natural Grass | Synthetic Greens |
|---|---|---|
| Shaded yards | Struggle without fixes | Thrive anywhere |
| Drought areas | High water needs | Zero irrigation |
| Your free time | 5+ hours weekly | Minimal upkeep |
| Budget reality | Ongoing costs | One-time investment |
How often will you actually play? Occasional use favors synthetic. Serious golfers justify complex drainage plans and natural maintenance routines. Small projects reduce total expenses, but you’ll still need proper drainage infrastructure.
Be honest. Your best choice matches your lifestyle!
Step 3: Prepare Ground and Install Drainage
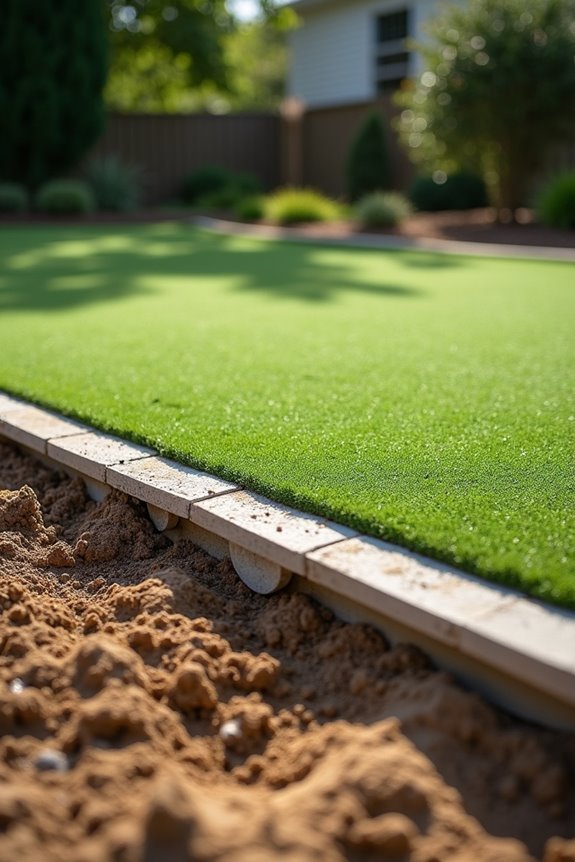
Now comes the part where you’ll really shape your green’s future—literally! You’ll need to establish a proper slope (typically 1-2% grade) so water drains away naturally, then choose your drainage system: either a simple French drain with perforated pipe and pea gravel, or the more thorough herringbone pattern that pros use for serious setups. Dig down about 4-6 inches for your foundation depth, and trust me, getting this right now saves you from waterlogged nightmares later!
Establishing Proper Slope
Why’s slope so important for your DIY putting green? It’s the foundation for everything that comes next!
A proper slope does two critical things:
- Creates a 2% grade across your backyard putting green for natural gameplay
- Channels water away from your surface, preventing puddles and damage
- Keeps your drainage system working efficiently year-round
- Maintains playability by preventing water pooling on greens
- Ensures long-term durability of your base preparation
During ground prep, you’ll dig 5–10 inches deep for your base layers. This depth accommodates drainage components while establishing your slope. Use a plate compactor to stage and compact each layer firmly. Here’s the thing—remeasure constantly! You’ll want to keep your overall grade within 3% across the entire installation. This precision takes patience, but trust me, it’s worth it. Proper slope transforms your backyard putting green from a muddy mess into a playable dream!
Drainage System Options
Once you’ve got your slope dialed in, here comes the part that’ll make or break your green: installing a drainage system! Without proper drainage, you’re basically building on quicksand—trust me, you don’t want that headache later.
You’ve got two solid options. Herringbone trenches work great if you’re willing to dig; they branch out like tree roots to collect water efficiently. Alternatively, perforated pipe—standard 4-inch diameter—runs underneath your base layer, channeling water away from your putting surface.
Here’s the setup: dig 5–10 inches deep, create your slope toward the drainage system, then layer in pea gravel around your pipe or trenches. Top it with a sand-based rootzone mix that supports water movement while keeping your grass healthy.
This investment pays dividends. You’re preventing failure before it happens!
Foundation Depth Requirements
How deep should you actually dig? You’ll want to excavate 5–10 inches to create proper space for your drainage system and base materials. This depth is vital for success!
Here’s what you’re building toward:
- Drainage foundation: Install perforated pipe with pea gravel in herringbone patterns for natural grass
- Base layer: Use aggregate material that you’ll compact firmly for artificial greens
- Flatness verification: Check your work with a long level throughout the process
- Slope management: Maintain ≤3% slope to prevent water pooling and green failure
- Compacting technique: Use a plate compactor to achieve that solid, stable surface
Once you’ve dug your hole, you’re ready to install your drainage system and begin compacting your base layer. This foundation work determines everything that comes next. You’re building something lasting here!
Step 4: Build Your Base and Compaction Layers
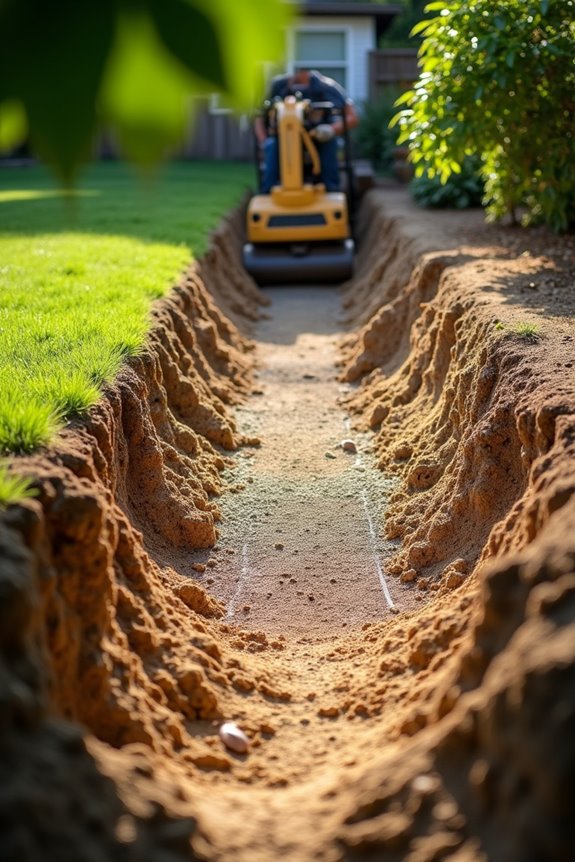
The foundation you’re about to create is honestly the make-or-break moment for your whole putting green!
Start by digging down 5–10 inches in your relatively flat area. Next, spread limestone gravel across the bottom—this creates drainage and levels everything out. Then layer crushed concrete on top to prevent sand from washing through. You’re basically building a sandwich that’ll last!
Dig 5–10 inches deep, layer limestone gravel for drainage, then crushed concrete—a lasting foundation sandwich for your putting green.
Here’s where the plate compactor becomes your best friend. Rent one and pack everything flat and smooth. This solid base prevents settling later, which would ruin your game.
Don’t forget those pavers! Lay them on their sides around your green’s outline. They define your design and help with edging.
Finally, create a slight natural slope in the sand layer. This adds challenge and helps water drain properly during compaction. You’ve got this!
Step 5: Shape Your Green With Contours and Subsurface
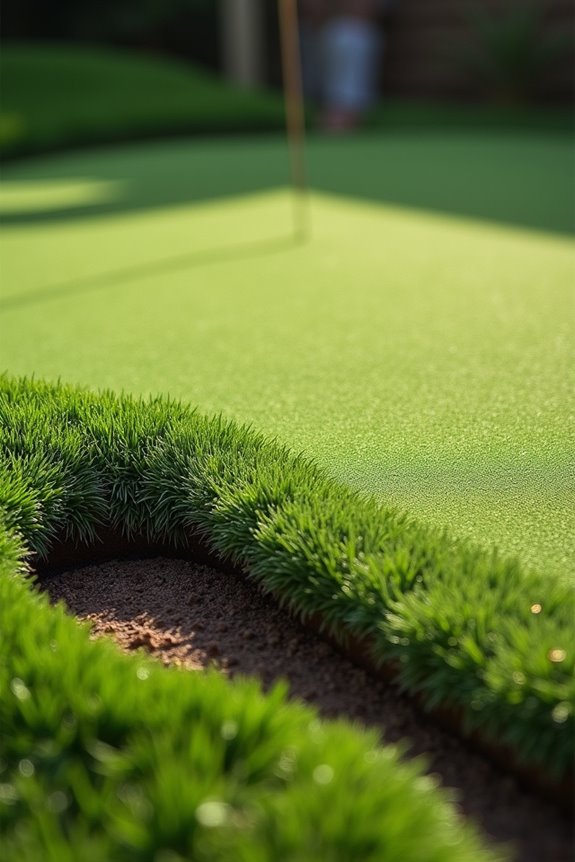
Now that you’ve got that solid base layer packed down tight, it’s time to make your putting green actually look like a putting green—and that means adding some character with contours and shaping!
This step’s where your green transforms from flat and boring to genuinely fun. You’ll work on putting green contours and subsurface shaping to create realistic slopes and breaks. Here’s what you’re tackling:
- Create a 2% slope for better drainage beneath green and playability
- Use a level and long straight edge for checking flatness before final compacting
- Lay herringbone drainage trenches with perforated pipe and pea gravel underneath
- Prepare your base layer preparation: 12 inches of sand-based root-zone mix for natural grass
- Outline edges with rounded pavers on their sides for support
Leveling and compacting ensures a professional finish!
Step 6: Install Your Putting Surface and Seal Edges
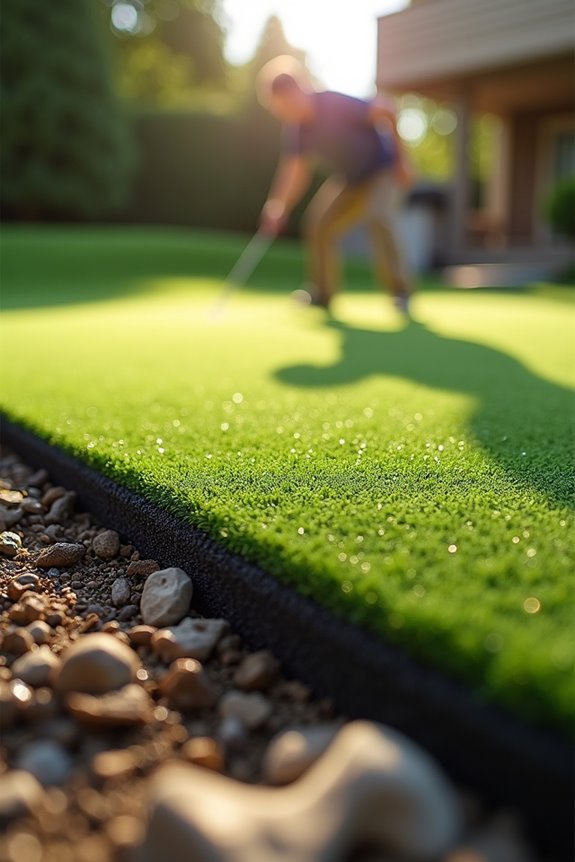
Once you’ve shaped and prepped that base, you’re ready for the moment that makes it all real—laying down your actual putting surface! Roll out your turf in the sun first, letting those fibers relax and align perfectly. Now here’s where precision matters: stretch and secure it with 6 landscape nails spaced 3–4 feet apart along the edges. Fasten your seams with landscape staples every 2–3 feet—trust me, skipping this step causes headaches later! Blend those seams with a roller for uniformity, then shape your fringe edges into clean transitions. Add infill to upright those turf blades, then seal edges firmly. Finally, grab your long level and verify everything’s perfectly flat. You’ve just installed your putting surface like a pro!
Step 7: Verify Drainage, Speed, and Surface Levelness
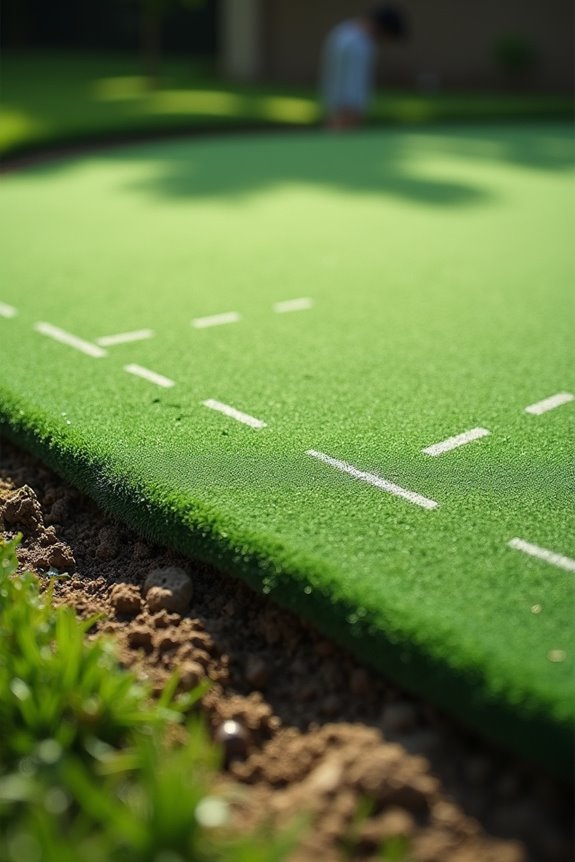
You’re almost there—now comes the fun part where you’ll verify that your green actually works! You’ll need to test your drainage system, check that the surface is perfectly level using a long level across the entire area, and measure the speed with a Stimpmeter to hit that sweet spot around 11 feet for nylon surfaces. Getting these three elements right means your putting green will roll true and play fair every single time you step up to putt!
Drainage System Testing
How’s your green looking now that the hard work’s done? Time to test whether everything functions perfectly! Drainage system testing ensures your investment stays in top shape.
Here’s what you’ll verify:
- Water runoff flows away quickly without sitting on the surface
- Pooling prevention means no water collects in low spots after rain
- Surface levelness creates a consistent plane across your green
- Stimpmeter test measures ball speed using a standardized rolling method
- Final inspection confirms drainage, speed, and levelness all work together
Pour water on different areas and watch it disappear. You’re checking that moisture doesn’t linger anywhere. A proper green drains within minutes, not hours. This drainage testing protects your turf from damage and ensures playability. You’ve earned a green that performs like the pros designed it!
Speed and Level Assessment
Now that your drainage system’s working smoothly, it’s time to dial in the two things that’ll make your green feel like the real deal: speed and levelness.
Test your surface speed using a Stimpmeter—that fancy tool that measures how fast putts roll. You’re aiming for synthetic surfaces around 11 feet and sand-filled options near 13 feet. This consistency matters because you’ll develop touch and confidence.
Next, grab a long level and check your entire green. You want uniform slopes that aid drainage without creating weird bumps. A slight intentional slope? Perfect. It prevents pooling while adding subtle challenge.
Balance these elements carefully. Your surface speed and levelness work together with drainage to create that polished feel. Get this right, and you’re ready for edging and plugs before finalizing your masterpiece!