

Transform that blank wall into a showstopper! Start bold with saturated color—test 2×2-foot swatches first since lighting changes everything. Layer textured wallcovering with high-gloss lacquer for dramatic depth. Create a personal photo gallery mixing frame sizes and styles with 2–3 inches between pieces. Commission a statement mural, install decorative tiles, or hang embroidered textiles for warmth. Add a built-in bar with adjustable shelves and lighting. Gold-framed mirrors paired with antique accents create curated sophistication. Each approach transforms your space into a gallery reflecting your personality—discover which strategy fits your style best.
Design a Bold Wall Color First
Why settle for boring beige when you could transform your entire living room with one powerful choice?
Bold wall colors like deep teal, emerald, or charcoal create instant impact and set your room’s mood beautifully. You’ll want to test large swatches—at least 2×2 feet—directly on your wall. Why? Lighting changes throughout the day, and your furniture affects how colors appear. It’s worth the extra effort!
Pair your bold color with complementary accents: gold frames, black metal, or warm wood tones. These additions prevent the shade from feeling overwhelming and add depth. Consider painting all walls one saturated hue or using just one accent wall while keeping others neutral. Either approach works wonderfully for balance.
Sharp white or off-white trim prevents color from bleeding into adjacent surfaces. You’ve got this! Your living room’s transformation starts here.
Create a Personal Photo Gallery Wall
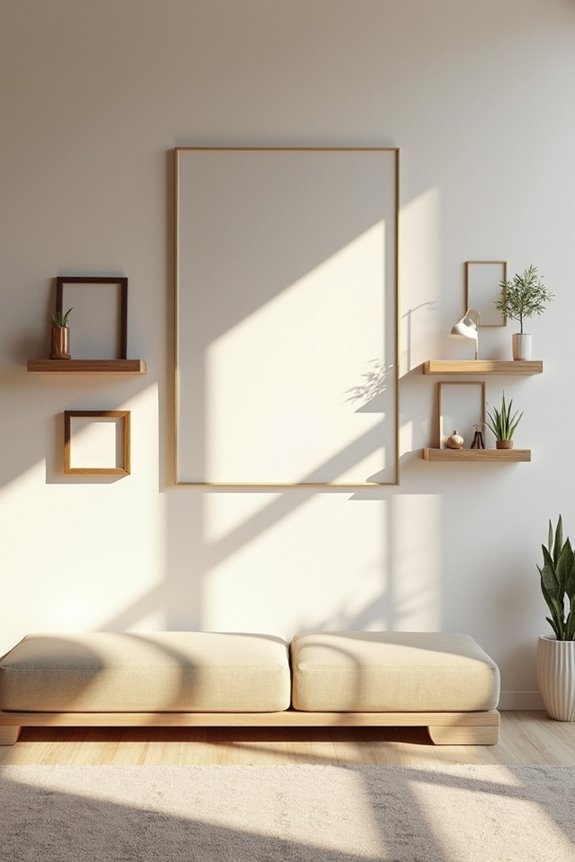
A photo gallery wall transforms your empty space into a meaningful display that tells your unique story. You’ll arrange a mix of family portraits, travel snaps, and candid Polaroids in a cohesive grid or salon-style layout. Start by selecting matching frame finishes—black metal or natural wood work beautifully—and space them 2–3 inches apart for that polished look.
Here’s the magic: vary your frame sizes! Position larger centerpiece frames with smaller memories flanking them to guide your eye naturally across the wall. This creates visual interest and establishes a focal point you’ll actually love looking at daily.
Don’t stop at photos. Add floating shelves holding mini albums, travel mementos, and keepsakes for depth. Consider handwritten captions or photo-printed canvas textures—these tactile touches make your gallery uniquely yours. You’re not just decorating; you’re celebrating the moments that matter most!
Commission or Paint a Statement Mural
A professionally painted mural delivers what DIY stencils can’t: seamless color blending, realistic shading, and custom palettes. Artists translate your favorite photos into stylized or photorealistic designs right on your wall. Want to visually expand your space? Murals with horizon lines or trompe l’oeil (fancy term for optical illusions) draw your eye across the entire room.
Here’s the practical part: durability matters. Quality sealants protect against fading in high-traffic areas, keeping your investment vibrant for years. Your living room becomes a gallery that truly belongs to you.
Layer Texture With Wallcovering and Lacquer
Ever notice how a room feels flat when walls are just one solid color? You can transform that boring space by layering wallcovering with lacquer—a glossy, protective coating that creates stunning depth!
Start with a textured wallcovering like tweed or geometric patterns, then seal it with high-gloss lacquer for reflectivity and drama. Or try this: use a bold lacquer color (emerald green or black work beautifully!) as your base, then overlay subtle patterned wallcovering on top. The combination adds visual interest without feeling overwhelming.
Want something more sculptural? Frame thicker fabric wallcovering with a lacquered border. The sheen creates sharp definition while the textured center becomes a focal point. You’re essentially creating gallery-quality sophistication in your living room—that’s genuinely achievable!
Hang Mirrored Panels to Expand the Space
You’ll want to position mirrored panels at varying heights to bounce light around the room and trick the eye into seeing double the space—it’s almost like magic! The frame style matters too; slim, unobtrusive frames in finishes that match your existing furniture keep everything looking intentional rather than mismatched. Pair these mirrors with strategic lighting like uplights or wall sconces, and you’ll amplify brightness while creating that coveted illusion of depth that makes your living room feel genuinely expansive.
Reflecting Light Strategically
Why does a room with mirrors always feel bigger and brighter? Because you’re literally multiplying light! When you hang mirrored panels strategically across from windows, you’re bouncing natural daylight deeper into your space. It’s like having extra windows you didn’t pay for.
Here’s your game plan:
| Panel Size | Height | Best For | Frame Style | Light Effect |
|---|---|---|---|---|
| Large (36″x48″) | Eye level | Creating drama | Frameless | Maximum reflection |
| Narrow (12″x36″) | Varied heights | Adding rhythm | Slim frame | Directional glow |
| Medium (24″x36″) | Upper wall | Balanced look | Minimal frame | Even brightness |
| Small (16″x20″) | Low placement | Subtle depth | Slim frame | Gentle bounce |
| Mix sizes | Staggered | Visual interest | Frameless preferred | Dynamic lighting |
Pair these with soft, neutral wall colors to minimize glare. You’ll transform that empty wall into a light-reflecting powerhouse!
Creating Illusions Of Depth
Now that you’ve mastered the art of bouncing light around, let’s take it a step further—because mirrors aren’t just about brightness, they’re about making your room feel dramatically bigger.
Hang mirrored panels in a staggered pattern down your wall. This arrangement tricks your eyes into seeing endless depth! Pair one large rectangular mirror with smaller ones at varied angles to multiply reflective surfaces. The result? Your living room suddenly feels spacious.
Choose tall, vertical mirrors with slim frames. They draw your gaze upward, making ceilings feel higher. Position mirrored panels opposite windows or focal points to maximize light play and enhance perceived expansion.
Here’s the key: use non-tinted finishes to avoid color distortion and preserve your room’s true tones. You’re essentially creating windows to imaginary space—and honestly, it’s magic!
Choosing Mirror Frame Styles
Once you’ve committed to the staggered mirror arrangement, the frame style becomes your secret weapon for pulling the whole look together. Your frame choice transforms mirrors from basic reflectors into design statements that genuinely belong in your space.
| Frame Style | Best For | Visual Effect | Budget | Vibe |
|---|---|---|---|---|
| Slim black metal | Modern homes | Sharp, gallery-like | $$ | Contemporary |
| Brass finish | Warm spaces | Glowing, elegant | $$$ | Classic-modern |
| Bevel-edged antique | Traditional rooms | Soft, sophisticated | $$$$ | Timeless charm |
| Minimal wood | Cozy living areas | Cohesive, grounded | $$ | Warm, inviting |
| Full-wall panels | Small spaces | Maximized light | $$$$ | Seamless luxury |
Match your frames to existing furniture finishes—this creates that coveted cohesive look you’re after! Think of frames as jewelry for your walls. They’re not just functional; they’re your style signature reflecting back at you!
Display Sculptural Focal Points
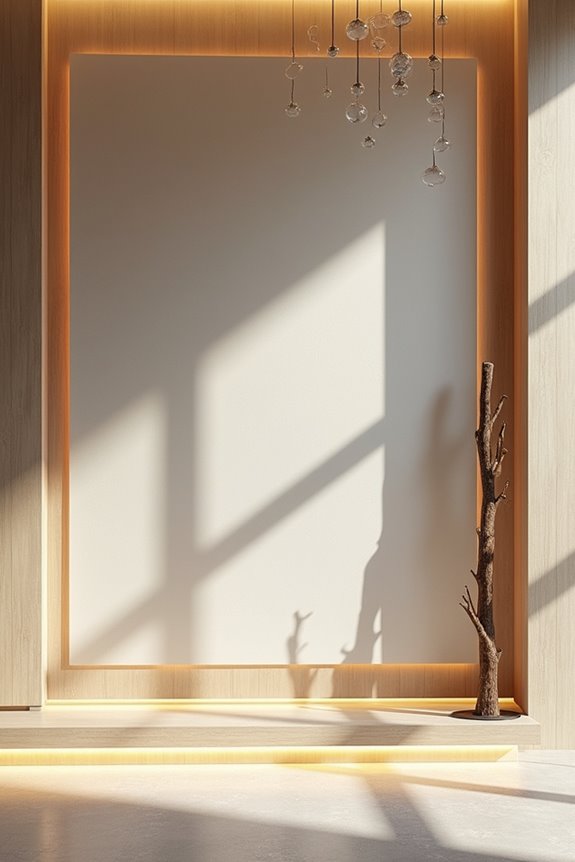
Transform that blank wall into an eye-catching gallery by bringing in sculptural pieces that’ll make guests actually stop and stare! Position a tall sculpture as your anchor, then surround it with smaller accents to create rhythm and balance. Mix different materials—metallic fauna, abstract shapes, carved wood—for visual interest that feels intentional, not random.
Consider varying heights to draw eyes upward naturally. Wall-mounted relief sculptures work beautifully too, especially when they feature contrasting textures: matte against glossy, smooth against ribbed surfaces. These differences catch light beautifully.
Here’s the game-changer: add adjustable spotlights or a sconce nearby. Dramatic shadows transform your sculptural display into something truly gallery-worthy. Three curated pieces typically work better than cluttering the space. You’re not just filling emptiness—you’re creating a focal point that tells visitors something about who you are!
Install Decorative Tiles or Mosaic Art
If you’re ready to go bold, decorative tiles and mosaic art can completely reinvent that empty wall—we’re talking eye-catching patterns that’ll make your living room feel intentional and curated. You’ll transform blank space into a striking focal point using geometric tessellations or maritime-inspired blues that reflect your personality.
Consider customized mosaic panels featuring family motifs or abstract designs that weave your personal story into the artwork. Glass or porcelain tiles in metallic or iridescent finishes? They’ll bounce light around your room, making everything feel brighter and bigger.
Want something modern? Combine tiled concrete backings with embedded mosaics for tactile warmth that balances minimalism beautifully. Prefer flexibility? Framed tile compositions or slim mosaic borders define zones—like seating areas—without commitment, plus they’re super easy to maintain and update whenever you feel inspired!
Weave in Embroidered and Textile Details
You can transform that bare wall by hanging embroidered pieces—think handstitched panels, needlepoint cushions, or tapestries—that add soft texture and genuine warmth your living room’s been missing! Mix different styles like satin stitch, crewel, or punch needle to create an artisanal gallery that tells a story and gives people something to actually talk about. The best part? You’re not stuck with one design forever; swap seasonal pieces in and out to keep your space feeling fresh without breaking the bank on new art!
Textile Art Installation
Ever wondered how to turn a blank wall into something that’ll actually catch people’s eye—and their fingers, because they’ll want to touch it?
Create a textile art installation by weaving embroidered panels directly onto wooden frames mounted on your wall. You’re building a tactile masterpiece! Mix different fibers—silk, wool, cotton, and metallic threads—to add depth and shimmer that shifts with light. Hand-embroider personal motifs like botanical outlines or family symbols without overwhelming your space.
| Fiber Type | Sheen Level | Best For | Cost |
|---|---|---|---|
| Silk | High | Flowing designs | Higher |
| Wool | Medium | Texture | Moderate |
| Cotton | Low | Structure | Budget |
| Metallic | Reflective | Accents | Varies |
Arrange multiple panels in geometric grids for visual impact. Pair textiles with matte plaster or lacquered backdrops to make embroidered details pop beautifully!
Embroidered Wall Hangings Display
Transforming your living room with embroidered wall hangings is honestly one of the most rewarding ways to add personality and warmth to that blank space. You’re investing in texture that actually engages your sense of touch—not just sight!
Hand-stitched pieces bring tactile interest through raised embroidery and delicate threadwork. Mix botanical florals with geometric patterns to create visual variety. Layer embroidered hangings on neutral walls or pair bold, colorful pieces with subtle backgrounds for stunning contrast.
Consider mixed-media combinations: embroidery paired with fabric, tassels, or wooden dowels creates cohesive displays that complement existing furniture beautifully.
Protect your investment! Spot-clean delicate threads gently, shield pieces from direct sunlight to prevent fading, and use proper supports—wooden rods or tapestry hangers maintain perfect drape. You’ve got this!
Add a Built-In Bar or Shelving Unit
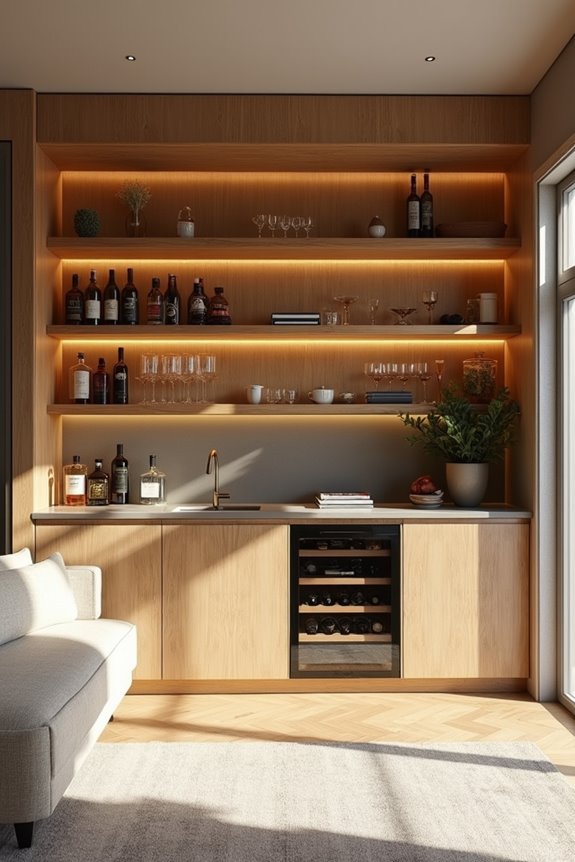
Installing a built-in bar or shelving unit transforms that blank wall into an entertainment powerhouse! You’ll create a sophisticated space that combines storage, counter area, and display in one sleek footprint.
A built-in bar transforms blank walls into sophisticated entertainment spaces combining storage, counter area, and display seamlessly.
Imagine showcasing your favorite glassware and bottles behind adjustable shelves with integrated lighting. You’re adding practical features too—moisture-resistant materials protect against spills, while hidden electrical outlets keep things tidy. Consider incorporating pull-out drawers, wine racks, or even a refrigeration drawer for beverages.
This investment brings your entertaining vision to life! You’ll maximize your living room without sacrificing floor space. Work with a local craftsman who understands durable finishes like solid wood or high-pressure laminate. Proper ventilation matters if you’re including beverage equipment.
You’re not just decorating—you’re creating a gathering hub where friends feel welcomed and impressed!
Combine Gold Frames With Antique Accents
You’ll absolutely love how layering gold frames with antique accents transforms your wall into a curated gallery that blends history with shine. By mixing ornate gold-framed mirrors alongside vintage pieces—think antique clocks, old telephones, or weathered wooden consoles—you’re creating visual depth that feels both luxe and personal. The gold reflects light while your antique treasures tell stories, giving you a display that’s genuinely one-of-a-kind!
Layering Frames And Mirrors
One of the most elegant ways to fill that bare wall? Layer frames and mirrors strategically! You’re creating depth and light by combining pieces that work together beautifully.
Here’s your layering game plan:
- Place a bold gold-framed mirror as your anchor piece at the back
- Arrange smaller antique picture frames around it in an overlapping pattern
- Mix ornate Baroque styles with simpler flat profiles for visual interest
- Balance shimmer with weathered wood or patinated metal accents
- Lean a large gilded frame above a console table below
The magic happens when you blend different gold finishes together. You’re not just decorating—you’re building a curated gallery that reflects light and tells your story. That combination of opulent frames and vintage character? It’s what transforms an empty wall into your room’s showstopper!
Blending Historical And Modern Elements
What if your wall could whisper stories from centuries past while still feeling totally current? You can absolutely blend historical and modern elements together! Pair gold-framed mirrors with antique sideboards to reflect light while showcasing beautiful, aged textures. Try placing contemporary sculptures between vintage gilded mirrors—this ties reflective surfaces to historic hardware in an unexpected way. Install a slim-profile gold-framed console with a single antique painting. Use focused LED uplighting to emphasize depth and history. Mix modern wall panels or lacquered finishes behind gallery walls of antique portraits in gilded frames. Position brass candlesticks or antique clocks on gold-framed shelves against neutral backdrops. These combinations create visual interest while honoring both eras. Your wall transforms into a personal gallery celebrating where you’ve been and where you’re headed!