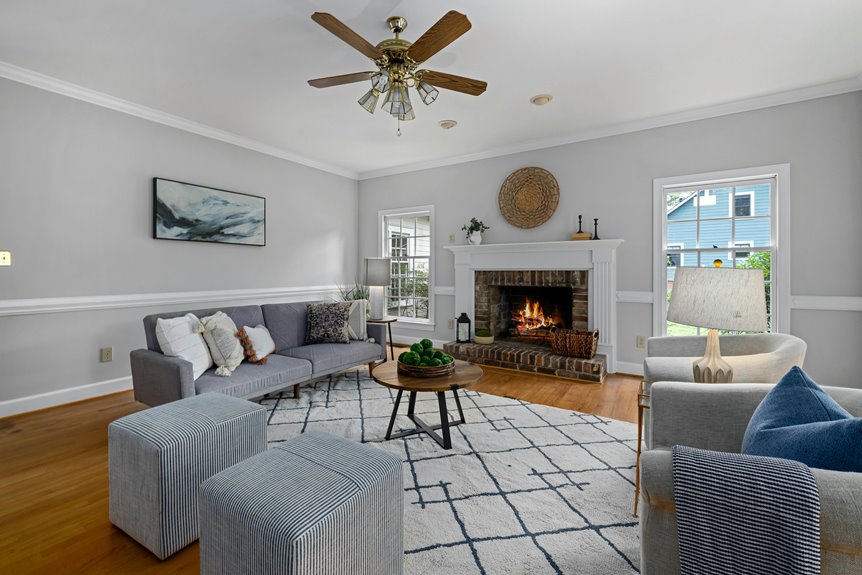
You’ve got this! First, turn off any gas pilot lights and grab high-heat paint—Rutland’s your best bet for 1200° or 1400° ratings. Next, vacuum out ash, scrub with soapy water, and let it dry 24 hours. Then spray two light coats from 12 inches away, waiting an hour between coats. Finally, don’t fire up your fireplace for 24–48 hours while the paint fully cures. Each step matters, and we’ll break down the exact techniques that’ll make your fireplace shine!
Is Your Fireplace Ready to Paint? Safety and Suitability First
Before you crack open that paint can, here’s the honest truth: not every fireplace is ready for a fresh coat of color. You’ll need to assess your setup first—safety and suitability matter most!
If you’ve got a gas log set, turn off that pilot light immediately. We’re talking fire hazard prevention here. Next, grab high-heat paint specifically designed for interior firebox applications, like Rutland’s 1200° or 1400° brush-on formulas. Regular latex won’t cut it; these heat-resistant options handle extreme temperatures that standard paints simply can’t manage.
Here’s your pre-painting checklist: vacuum thoroughly, scrub with warm soapy water, degrease buildup, and remove all ash residue. Proper ventilation and a respirator protect you from VOCs and fumes during application. These flame-retardant coatings transform your fireplace safely when you prep properly!
Choose High-Heat Paint: Rutland vs. Rust-Oleum and Why It Matters
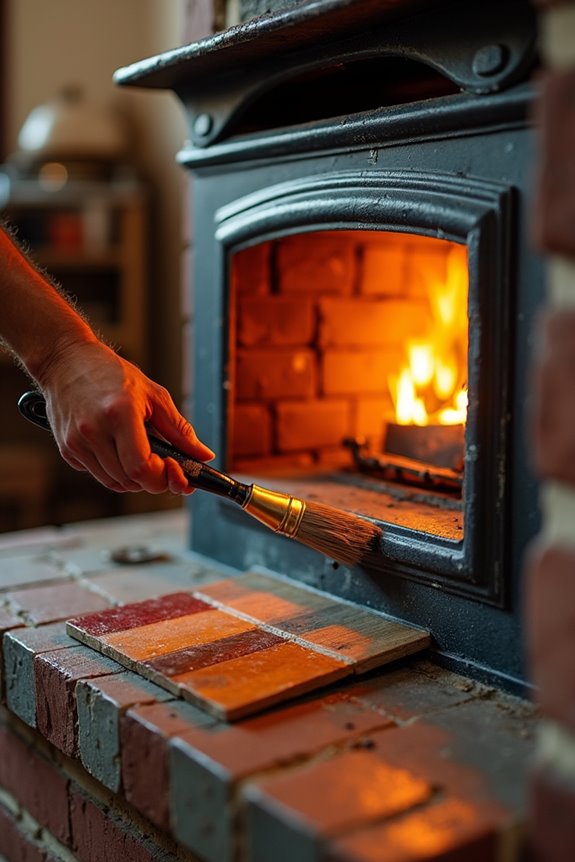
Now that you’ve prepped your fireplace spotless, it’s time to pick the right paint—and honestly, this choice makes all the difference between a job that looks great for years versus one that peels and fails.
You’ve got options, but we’re talking serious heat here. Rutland brand dominates the interior firebox game, offering both brush-on and spray forms in 1200-degree and 1400-degree varieties. Here’s the thing: Rutland paints become non-flammable when dry, addressing those legitimate safety worries. Rust-Oleum’s high-heat enamel gets mentions, but newer guidance favors Rutland for interiors.
| Feature | Rutland | Rust-Oleum |
|---|---|---|
| Best For | Interior firebox | General high-heat |
| Temperature Range | 1200–1400°F | Varies |
| Application | Brush/spray | Limited options |
| Safety (Dried) | Non-flammable | Check label |
| Availability | Online/hardware | Seasonal stock |
Always read labels carefully—heat-threshold details matter tremendously!
Prepare the Firebox: Deep Clean and Surface Repair
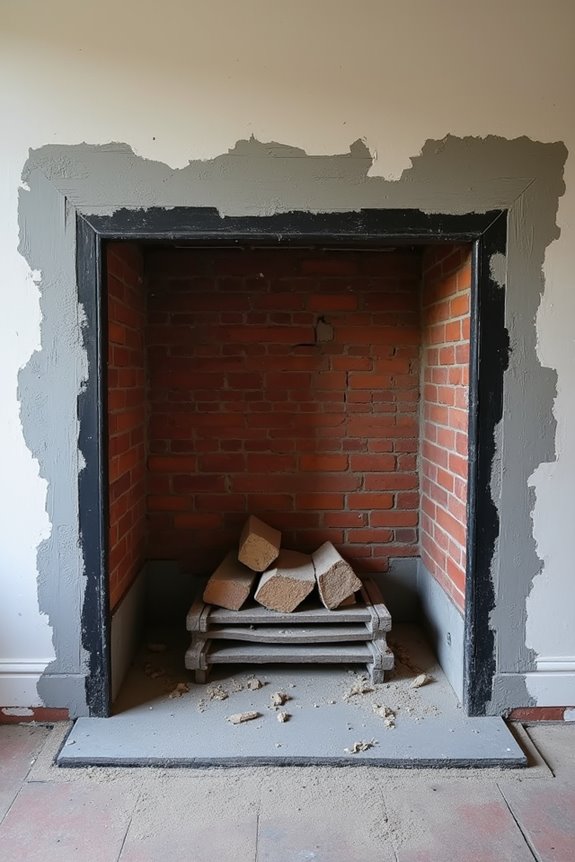
Ready to tackle the grime that’s been sitting in your firebox for who knows how long? You’re in for a satisfying transformation!
Start by vacuuming loose debris and ash from the inside firebox thoroughly. Next, grab a scrub brush and warm soapy water to remove stubborn buildup. For serious brick masonry surfaces, use TSP degrease—this degreaser cuts through decades of soot removal challenges like nothing else!
If you’ve got a gas log set, turn off that pilot light first. Safety matters!
Here’s the encouraging part: deep clean with a brush and towels, working until surfaces shine. Allow ample drying time before any painting prep—at least 24 hours for optimal results. Your cleaning before painting investment pays off tremendously when primer adheres perfectly to that hot wood/fireplace surface. You’ve got this!
Apply Your Paint: Technique, Coverage, and Drying Times
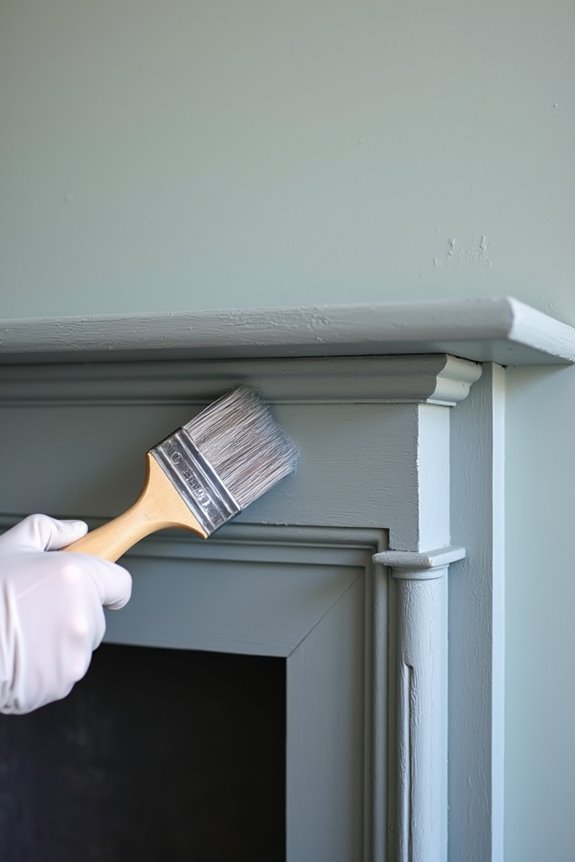
Your fireplace is prepped, cleaned, and ready for the magic to happen—this is where all that preparation work pays off! You’ll apply high-heat interior paint in two coats, starting with a light spray about 12 inches from the surface. Here’s the rhythm: first coat dries to touch in roughly 30 minutes, with recoat readiness around one hour depending on conditions. For brick surfaces, grab a roller with brick-appropriate nap to reach those cracks, finishing edges with your 2″ angled brush. Using spray paint? Plan for two cans and ensure proper ventilation plus PPE—think respirator and gloves. Use light, sweeping motions avoiding heavy drips. Let everything cure fully before firing up your fireplace. You’ve got this!
Cure and Protect: Finishing Strong Without Damage
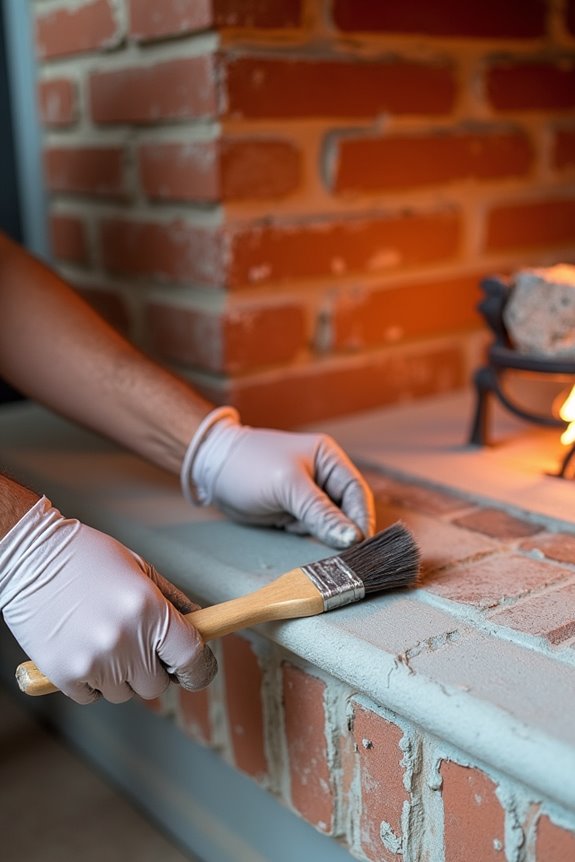
Once you’ve applied those two coats of high-heat paint and they’ve dried to the touch, you’re in the home stretch—but don’t rush it! This curing phase is where your work truly solidifies. Follow your paint’s heat cure instructions precisely—this isn’t optional. Most high-heat paints require 24-48 hours of full curing before you can safely use your fireplace again.
Keep your painter’s tape and drop cloths in place during this waiting period. They’re still protecting your surrounding areas! Resist the temptation to test-fire early. Premature heat exposure can compromise your firebox prep work and damage that beautiful finish you’ve created.
Once curing’s complete, carefully remove your tape and drop cloths. Then reusing fireplace becomes safe and rewarding. You’ve earned it!